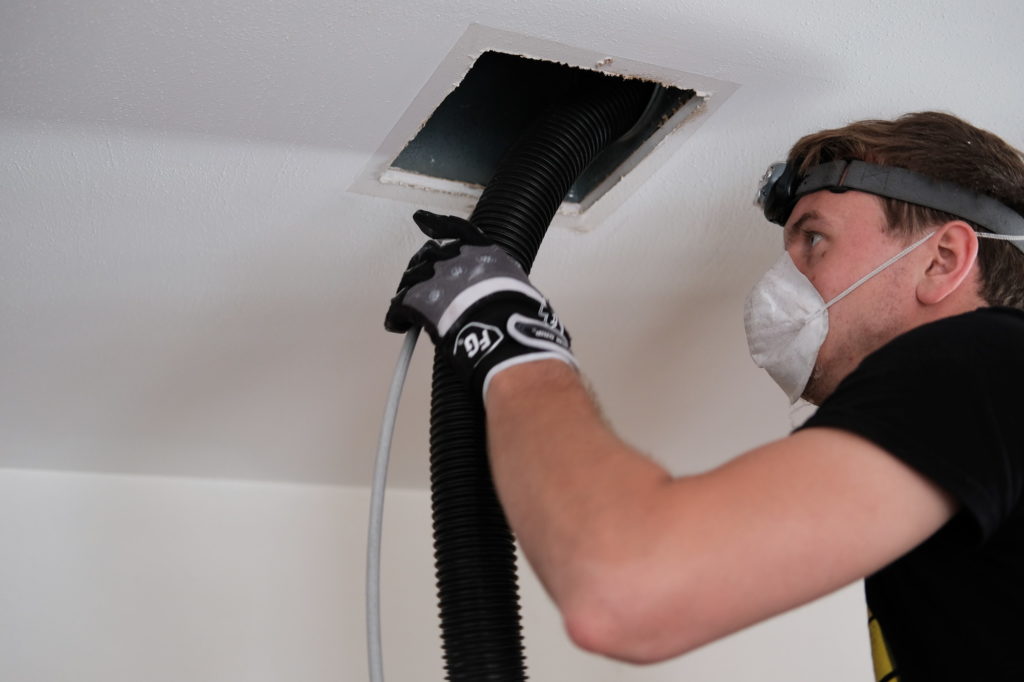
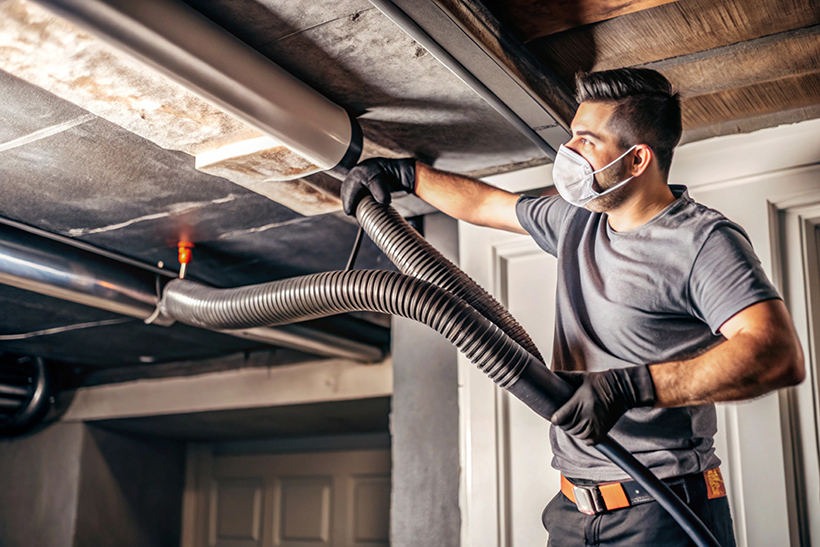
Properly sealing your air ducts after a thorough cleaning is one of the most effective ways to boost energy efficiency, improve indoor air quality, and extend the life of your HVAC system. Many homeowners focus on duct cleaning but overlook the importance of sealing leaks and gaps that can waste energy and allow contaminants back into the system. This guide will walk you through the essential steps, materials, and best practices for sealing ductwork after cleaning, so you can maximize your home’s comfort and savings.
Understanding the process of how to seal air ducts after cleaning is crucial for anyone looking to reduce utility bills and maintain a healthy indoor environment. By addressing leaks and ensuring a tight seal, you prevent conditioned air from escaping and unfiltered air from entering, making your HVAC system work less and last longer.
If your ductwork includes insulated sections, you may also want to review how to clean insulated ductwork safely for additional tips on maintaining and sealing these areas.
Why Sealing Ducts Matters After Cleaning
After cleaning, ducts are free from dust, debris, and microbial growth, but any existing leaks or gaps remain unless addressed. Sealing these imperfections is essential for several reasons:
- Energy Savings: Leaky ducts can lose up to 30% of conditioned air, causing your HVAC system to work harder and increasing energy costs.
- Improved Air Quality: Gaps allow dust, allergens, and pollutants to enter your home, undermining the benefits of duct cleaning.
- Consistent Comfort: Proper sealing ensures even heating and cooling throughout your living spaces.
- System Longevity: Reducing strain on your HVAC equipment helps prevent breakdowns and extends its lifespan.
Inspecting Ductwork for Leaks and Gaps
Before sealing, a careful inspection is necessary. Here’s how to check your ducts:
- Visual Inspection: Look for visible cracks, holes, disconnected joints, or old, deteriorated tape.
- Feel for Airflow: With the system running, feel along the ducts for escaping air, especially at seams and connections.
- Use a Smoke Pencil: A smoke pencil or incense stick can help reveal air movement at potential leak points.
- Professional Testing: For a comprehensive assessment, consider hiring a technician to perform a duct blaster test.
Document all areas needing attention before moving on to the sealing process.
Essential Materials and Tools for Duct Sealing
Gather the right supplies before you begin. For most residential ductwork, you’ll need:
- Mastic Sealant: A thick, paint-on adhesive designed for ductwork. It provides a flexible, long-lasting seal.
- Foil Tape: UL 181-rated aluminum tape is ideal for sealing seams and joints. Avoid standard cloth duct tape, which degrades quickly.
- Brush or Putty Knife: For applying mastic sealant evenly.
- Protective Gloves: To keep your hands clean and safe from sharp edges.
- Cleaning Supplies: Rags and mild detergent to wipe down surfaces before sealing.
For more details on cleaning techniques, see this step-by-step guide to cleaning heating and air conditioning ducts.
Step-by-Step Guide: Sealing Air Ducts After Cleaning
Follow these steps to ensure a thorough and lasting seal:
- Clean the Surface: Use a damp rag to remove dust, grease, and debris from all areas to be sealed. Allow to dry completely.
- Seal Joints and Seams: Apply mastic sealant with a brush or putty knife over all joints, seams, and connections. Spread it about 1/16 to 1/8 inch thick for best results.
- Reinforce with Foil Tape: For added durability, cover mastic-sealed areas with UL 181 foil tape. Smooth out air bubbles and ensure full contact.
- Address Large Gaps: For holes larger than 1/4 inch, use mesh tape or metal patches before applying mastic.
- Let It Cure: Allow mastic to dry according to manufacturer instructions—usually 24 hours—before running your HVAC system.
- Re-Inspect: Once cured, check all sealed areas for missed spots or loose tape and touch up as needed.
Repeat this process for all accessible ductwork, including supply and return lines, elbows, and plenum connections.
Tips for Maximizing Energy Savings
To get the most from your efforts, keep these best practices in mind:
- Seal All Accessible Ducts: Focus on attics, basements, crawl spaces, and garages where leaks are most common.
- Check Connections to Vents and Registers: These are frequent sources of leaks and should be sealed carefully.
- Insulate After Sealing: Once sealed, add insulation to ducts in unconditioned spaces to further reduce energy loss.
- Schedule Regular Maintenance: Inspect and reseal ducts every few years, especially after major cleaning or repairs.
- Consider Professional Help: For hard-to-reach or extensive duct systems, a certified HVAC technician can ensure thorough sealing.
If you’re interested in advanced cleaning methods, learning about the negative air pressure cleaning method can help you understand how professionals keep ducts contaminant-free before sealing.
Common Mistakes to Avoid When Sealing Ducts
Even with the right materials, certain errors can undermine your work. Avoid these pitfalls:
- Using Standard Duct Tape: Cloth-backed duct tape fails quickly under HVAC conditions. Always use UL 181-rated foil tape or mastic.
- Skipping Surface Prep: Sealing over dust or grease prevents adhesives from bonding properly.
- Ignoring Inaccessible Ducts: Out-of-sight sections often have the worst leaks. Use inspection cameras or hire a pro if needed.
- Overlooking Return Ducts: Both supply and return lines must be sealed for optimal performance.
Maintaining Sealed Ductwork for Long-Term Efficiency
After sealing, periodic checks are important to ensure lasting results. Here’s how to maintain your ductwork:
- Visually inspect sealed areas annually for cracks, peeling, or loose tape.
- Monitor your energy bills for unexpected increases, which may signal new leaks.
- Schedule professional duct inspections every few years, especially if you notice uneven temperatures or increased dust.
- Keep up with regular cleaning to prevent buildup that can compromise seals.
For those concerned about air quality, consider the role of UV lights in duct cleanliness as an additional measure to keep your system clean and efficient.
Frequently Asked Questions
What is the best material for sealing air ducts?
The most effective materials for sealing air ducts are mastic sealant and UL 181-rated foil tape. Mastic provides a flexible, airtight seal, while foil tape is durable and heat-resistant. Avoid standard duct tape, which deteriorates quickly.
How often should I check and reseal my ducts?
It’s recommended to inspect your ductwork for leaks every 2–3 years, or after any major cleaning or HVAC repairs. Reseal as needed to maintain optimal efficiency and air quality.
Can sealing ducts help with allergy symptoms?
Yes, sealing ducts prevents dust, pollen, and other allergens from entering your HVAC system and circulating through your home. Combined with regular cleaning, this can significantly reduce allergy symptoms and improve indoor air quality.
Conclusion
Sealing your ductwork after cleaning is a vital step for anyone looking to save energy, improve comfort, and maintain a healthy home environment. By following the steps outlined above and using the right materials, you can ensure your HVAC system operates efficiently and delivers clean air throughout your living spaces. For additional strategies on keeping your ducts clean during renovations, explore ways to keep ducts clean during remodeling. Taking these proactive measures will help you enjoy lower energy bills and a more comfortable home year-round.