Keeping your home’s air clean and circulation efficient starts with regular maintenance of your HVAC system, and one of the most overlooked steps is caring for your floor registers. Dust, pet hair, and debris can accumulate in these vents, reducing air quality and system efficiency. Learning how to clean floor registers not only improves your indoor environment but also helps your heating and cooling system run more smoothly.
This guide provides a practical, step-by-step approach to keeping your floor vents spotless, with tips for both routine cleaning and deeper maintenance. For those interested in broader ductwork care, you might also find value in exploring how to clean insulated ductwork safely for a comprehensive approach to air quality.

Why Regular Register Cleaning Matters
Floor vents are essential for distributing heated or cooled air throughout your home. Over time, they collect dust, allergens, and even small objects that can restrict airflow. Neglecting this simple maintenance task can lead to:
- Poor indoor air quality due to dust and allergen buildup
- Reduced HVAC efficiency, increasing energy bills
- Potential for unpleasant odors and visible grime
- Increased wear on your heating and cooling system
By making vent cleaning part of your routine, you can help prevent these issues and keep your home environment healthier.
Essential Tools and Supplies
Before starting, gather the following items to ensure a thorough job:
- Vacuum cleaner with hose attachment
- Soft brush or old toothbrush
- Mild dish soap and warm water
- Microfiber cloth or sponge
- Screwdriver (if registers are screwed in place)
- Disposable gloves (optional for allergy sufferers)
Step-by-Step Instructions for Cleaning Floor Registers
Follow these steps to refresh your floor vents and improve airflow throughout your home.
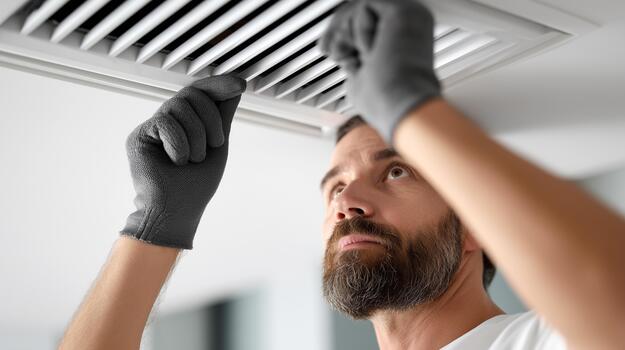
1. Remove the Register Cover
Carefully lift the vent cover from the floor. If it’s secured with screws, use a screwdriver to remove them and keep them in a safe place. Take care not to drop screws into the ductwork.
2. Vacuum Loose Debris
Use the hose attachment on your vacuum to remove dust, pet hair, and debris from both the vent cover and the exposed duct opening. For best results, vacuum inside the duct as far as the hose will reach.
3. Wash the Register Grate
Fill a basin or sink with warm water and a few drops of mild dish soap. Submerge the vent cover and use a soft brush or toothbrush to scrub away any stuck-on dirt or grime. Rinse thoroughly and dry with a microfiber cloth or allow it to air dry completely before reinstalling.
4. Wipe Down Surrounding Area
Use a damp cloth to clean the floor area around the vent opening. This helps prevent dust from being swept back into the duct when you replace the cover.
5. Reinstall the Register
Once the cover is dry, place it back over the duct opening. Secure with screws if necessary. Make sure it sits flush with the floor for optimal airflow and safety.
Deep Cleaning and Maintenance Tips
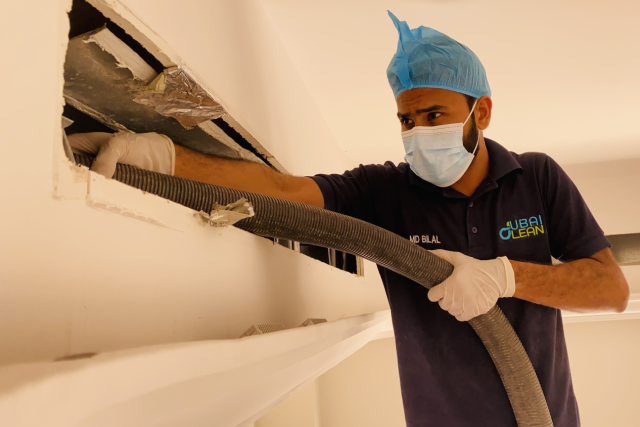
For homes with pets, allergies, or high dust levels, consider deep cleaning your vents every few months. You can also use a damp cloth to wipe inside the duct as far as you can reach. For persistent odors or visible mold, it may be time to look into professional duct cleaning or explore how to remove smells from air ducts for more targeted solutions.
How Often Should Floor Registers Be Cleaned?
For most households, cleaning floor vents every three to six months is sufficient. However, if you have pets, allergies, or live in a dusty environment, monthly cleaning may be beneficial. Regular maintenance not only keeps your home cleaner but also extends the life of your HVAC system.
Additional Tips for Maintaining Clean Vents
- Use high-quality air filters in your HVAC system and replace them regularly.
- Vacuum and dust your home frequently to reduce buildup.
- Consider using a HEPA air scrubber to capture airborne particles and improve air quality.
- If you notice signs of mold, consult a professional or review resources on the air duct cleaning process for further guidance.
- During home renovations, take steps to protect your ducts. For more on this, see these ways to keep ducts clean during remodeling.
Common Mistakes to Avoid
- Using harsh chemicals that can damage metal or painted surfaces
- Reinstalling the cover before it’s completely dry, which can lead to rust
- Forgetting to vacuum inside the duct, leaving dust behind
- Neglecting regular cleaning, which allows buildup to worsen over time
Frequently Asked Questions
Can I clean floor registers without removing them?
While you can vacuum the surface and use a brush to remove some dust, removing the cover allows for a much more thorough cleaning. It’s the best way to reach all debris and wash away grime.
Is it safe to wash metal vent covers in the dishwasher?
Most metal registers can be washed by hand with mild soap and water. Dishwashers may damage painted finishes or cause rust, so hand washing is recommended unless the manufacturer states otherwise.
How do I prevent dust from building up in my vents?
Regularly replacing HVAC filters, dusting and vacuuming your home, and keeping floor registers clean will minimize dust accumulation. Using a HEPA air scrubber can also help capture airborne particles before they settle.
What if I notice mold or a musty smell coming from my vents?
Mold or persistent odors may indicate a larger issue within your ductwork. In these cases, it’s best to seek professional help or consult resources on symptoms of sick building syndrome from ducts to determine the next steps.
Conclusion
Taking the time to maintain your floor vents is a simple yet effective way to boost air quality and HVAC efficiency. With just a few household tools and regular attention, you can keep dust, allergens, and odors at bay. For those looking to go further, consider learning about the role of UV lights in duct cleanliness for advanced solutions. Consistent care ensures a healthier, more comfortable home for you and your family.