Getting ready for a professional duct camera inspection can make a significant difference in the accuracy and efficiency of the process. Whether you’re a homeowner concerned about indoor air quality or a property manager aiming to maintain HVAC performance, knowing how to prepare for duct camera inspection ensures you get the most value from the service. Taking the right steps ahead of time helps technicians access your ductwork easily and allows for a thorough assessment of your system’s condition.
For those interested in a more technical overview, the HVAC duct camera inspection guide provides detailed information on the diagnostic process and what to expect from modern inspection technology.
Understanding the Duct Camera Inspection Process
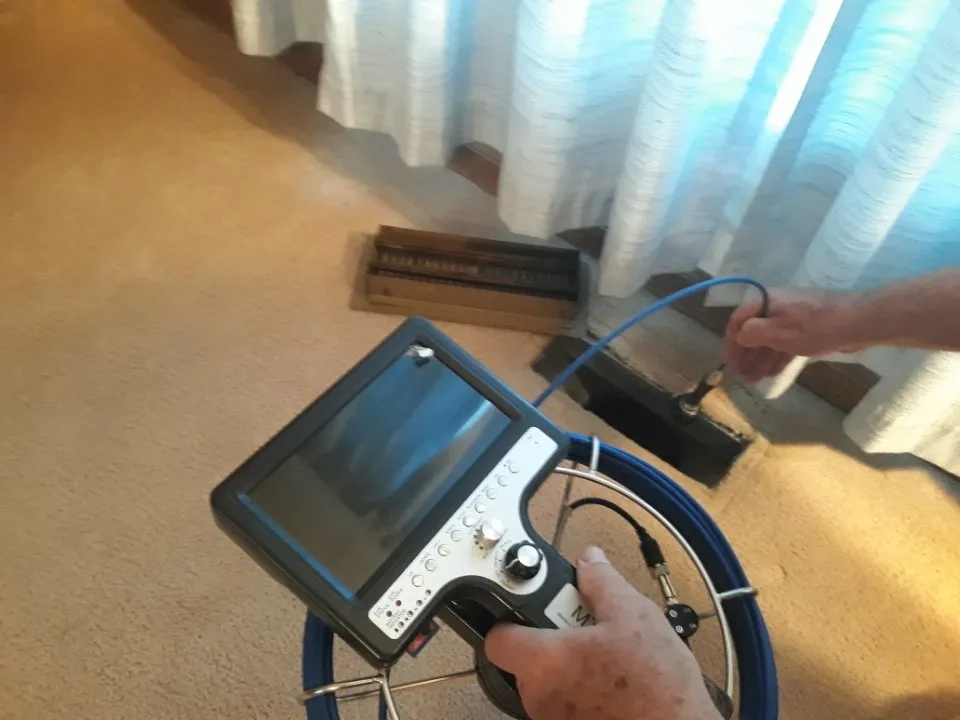
Before diving into preparation tips, it’s helpful to understand what a duct camera inspection involves. Technicians use specialized cameras to visually examine the inside of your HVAC ducts. This process helps identify blockages, leaks, mold, dust buildup, and even pest infestations. The camera transmits real-time images or video to a monitor, allowing both the technician and the property owner to see the condition of the ductwork.
If you’re new to this type of service, you might find the what is duct camera inspection resource useful for a beginner-friendly explanation.
Why Preparation Matters for Accurate Results
Proper preparation is essential for a successful inspection. When access points are clear and the environment is ready, technicians can work more efficiently and spot issues that might otherwise go unnoticed. Good preparation also minimizes disruptions to your home or business and ensures the inspection is completed in a timely manner.
Steps to Get Ready for a Duct Camera Inspection
To make the most of your upcoming appointment, follow these practical steps to prepare your space and your HVAC system:
1. Clear Access to Vents and Ductwork
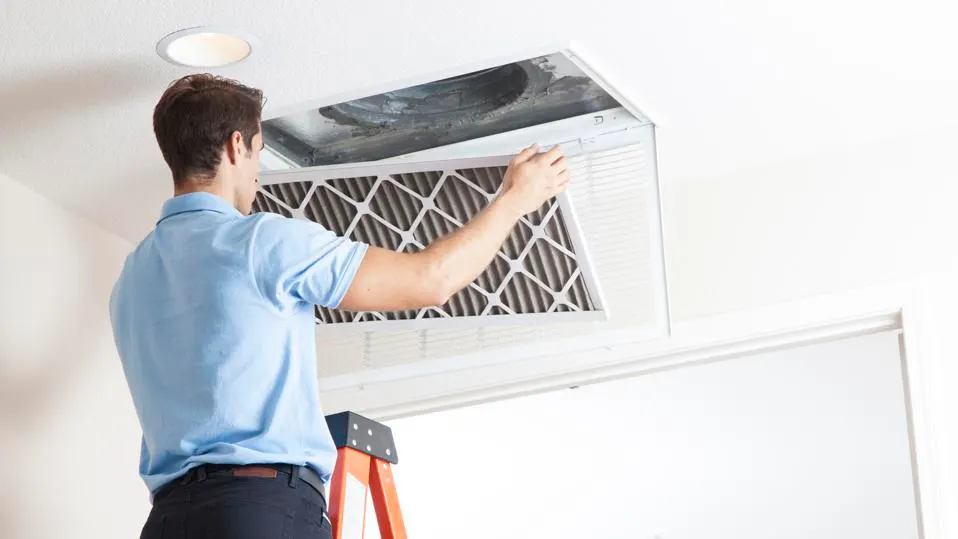
Move furniture, rugs, or any obstacles away from vents, registers, and main duct access points. Technicians need unobstructed entry to these areas to insert the camera and maneuver equipment. If your ductwork is located in tight areas like attics or crawl spaces, ensure these spaces are accessible and safe to enter.
2. Turn Off the HVAC System
Before the inspection, switch off your heating or cooling system. This prevents air movement that could interfere with the camera’s operation and ensures the technician’s safety while working inside the ducts.
3. Inform the Technician of Any Known Issues
If you’ve noticed unusual odors, noises, or inconsistent airflow, let the technician know ahead of time. Sharing this information helps them focus on specific areas during the inspection and may speed up the troubleshooting process.
4. Secure Pets and Children
For safety and efficiency, keep pets and young children away from work areas during the inspection. This reduces distractions and ensures the technician can work without interruption.
5. Remove Fragile Items Nearby
Take a moment to move fragile decorations or valuables away from the inspection zone. While professionals take care to avoid damage, clearing the area helps prevent accidents.
6. Provide Information About Your HVAC System
If possible, have details about your HVAC system’s age, recent repairs, or maintenance history ready. This context can help the technician interpret what they see during the camera inspection and offer more targeted recommendations.
What to Expect During the Appointment
On the day of the inspection, the technician will arrive with specialized camera equipment. They’ll typically start by reviewing your concerns and explaining the process. The camera is inserted into the ductwork through accessible vents or service panels, transmitting images to a monitor. You may be invited to view the footage, which can be helpful for understanding any issues found.
The inspection usually takes between 30 minutes and two hours, depending on the size and complexity of your duct system. Afterward, the technician will discuss their findings and may provide images or a written report. This information is valuable for deciding on next steps, such as cleaning, repairs, or further diagnostics.
Common Issues Detected During Camera Inspections
Duct camera inspections often reveal a range of problems, from minor dust buildup to more serious concerns like mold growth or structural damage. Some of the most common findings include:
- Dust and debris accumulation that can reduce HVAC efficiency and indoor air quality
- Leaks or disconnected joints causing energy loss
- Mold or mildew indicating moisture problems
- Pest infestations such as rodents or insects
- Physical damage to ductwork from age or previous repairs
For a deeper dive into the types of issues uncovered and their implications, see duct camera inspection explained.
After the Inspection: Next Steps
Once the inspection is complete, review the technician’s findings and ask questions if anything is unclear. Depending on the results, you may need to schedule duct cleaning, repairs, or further diagnostics. Addressing issues promptly can improve your HVAC system’s performance, reduce energy costs, and enhance indoor air quality.
Maintaining your ductwork after an inspection is just as important as the inspection itself. Consider following best practices for air filters and dust reduction to keep your system running smoothly between professional visits.
Expert Tips for a Smooth Duct Camera Inspection
- Schedule inspections during mild weather when your HVAC system is not in heavy use.
- Ask your technician if you need to take any additional steps based on your home’s layout or HVAC design.
- Keep records of inspection reports and recommendations for future reference.
- Consider regular inspections as part of your overall HVAC maintenance and health benefits routine.
Additional Resources for Homeowners and Property Managers
For a comprehensive step-by-step overview of the inspection process, the step-by-step guide to inspecting air ducts offers valuable insights and practical advice.
Frequently Asked Questions
How long does a duct camera inspection usually take?
The duration depends on the size and complexity of your duct system, but most inspections are completed within 30 minutes to two hours. Larger homes or commercial properties may require more time.
Do I need to clean my ducts before the inspection?
No, you do not need to clean your ducts beforehand. In fact, the purpose of the inspection is to assess the current condition, including any dust or debris buildup. However, clearing access to vents and duct openings is important.
Will the technician need to move furniture or enter the attic?
Technicians may need to access hard-to-reach areas such as attics, crawl spaces, or behind furniture to reach ductwork. It’s helpful to move items in advance and ensure safe, clear paths to all access points.
What should I do if the inspection reveals mold or pests?
If mold or pests are found, the technician will recommend appropriate remediation steps. This may involve duct cleaning, sealing, or contacting pest control professionals to address infestations.
How often should I schedule a duct camera inspection?
Most experts recommend having your ducts inspected every 3 to 5 years, or sooner if you notice signs of poor air quality, visible dust, or HVAC performance issues.