Efficient heating and cooling depend on well-sealed ductwork. Even small gaps or leaks in your air ducts can lead to significant energy loss, uneven temperatures, and higher utility bills. Learning how to check ductwork for gaps is an essential skill for homeowners who want to improve indoor comfort and reduce wasted energy. This article provides a step-by-step approach to identifying air leakage points, explains why sealing ducts matters, and offers practical tips for maintaining your HVAC system.
For those interested in keeping their ductwork in top shape, understanding the best methods for cleaning insulated ducts can further enhance air quality and system efficiency.
Why Duct Leaks Matter for Home Comfort and Efficiency
Leaky air ducts can undermine even the most advanced HVAC systems. When conditioned air escapes through cracks or poorly sealed joints, your system must work harder to maintain the desired temperature. This not only increases energy consumption but also puts extra strain on your equipment, potentially shortening its lifespan.
- Reduced efficiency: Air leaks can waste up to 30% of the energy used for heating or cooling.
- Uneven temperatures: Rooms farthest from the HVAC unit may feel less comfortable due to lost airflow.
- Poor air quality: Gaps can draw in dust, insulation fibers, or even pests from attics and crawl spaces.
Addressing these issues early helps maintain healthy indoor air and keeps utility costs in check.
Essential Tools for Inspecting Ductwork
Before you start, gather the following items to make the inspection process smoother:
- Flashlight or headlamp for visibility
- Step ladder (for ceiling ducts)
- Smoke pencil or incense stick to detect airflow
- Masking tape or painter’s tape for marking leaks
- Permanent marker for labeling problem areas
- Camera or smartphone for documenting findings
Having these tools on hand will help you spot and track any gaps or leaks efficiently.
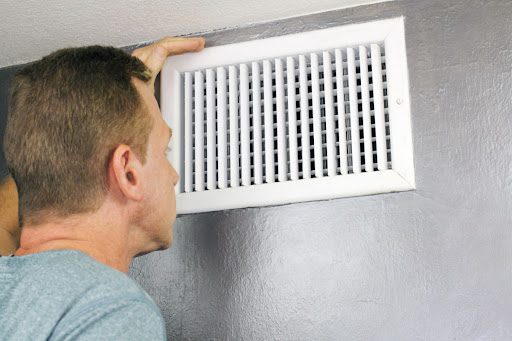
Step-by-Step Guide: Locating Gaps and Air Leaks in Ducts
To effectively inspect ductwork for air leaks, follow these steps:
-
Turn on your HVAC system.
Set your system to either heating or cooling mode so that air is actively moving through the ducts. This makes leaks easier to detect.
-
Visually inspect accessible ducts.
Use your flashlight to examine exposed ductwork in basements, attics, or crawl spaces. Look for:
- Disconnected joints or loose fittings
- Visible cracks, holes, or tears in the duct material
- Old or deteriorated duct tape
- Dust streaks, which often indicate escaping air
-
Feel for escaping air.
Run your hand along the seams and joints while the system is running. Cool or warm air escaping from these areas signals a leak.
-
Use a smoke pencil or incense stick.
Hold the smoke source near suspected leaks. If the smoke wavers or is blown away, you’ve found an air leakage point.
-
Mark problem areas.
Use tape or a marker to highlight spots that need sealing. Take photos if necessary to document the locations.
Repeat this process for all accessible duct sections. If your home has insulated ducts, be sure to check the insulation for signs of air movement or damage. For more on this, see our guide on cleaning insulated ductwork safely.
Common Places Where Duct Leaks Occur
Some areas are more prone to leaks than others. Pay extra attention to:
- Junctions between duct sections
- Connections at vents and registers
- Where ducts meet the HVAC unit or plenum
- Flexible duct connections
- Sharp bends or kinks in the ductwork
These spots often develop gaps over time due to vibration, settling, or improper installation.
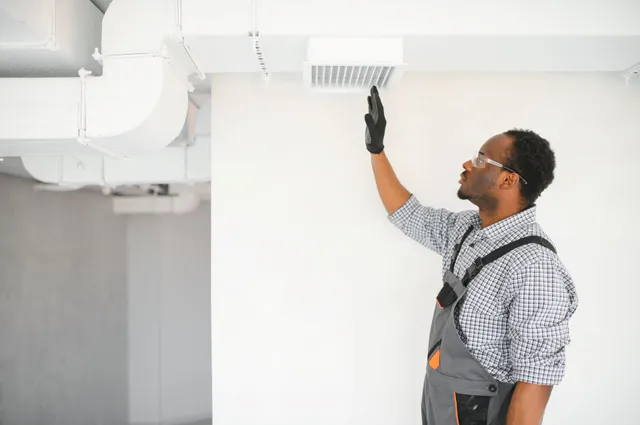
What to Do After Finding Air Leakage Points
Once you’ve identified leaks, it’s important to seal them properly. Here’s how:
- Use mastic sealant: This thick, paint-on adhesive is ideal for sealing joints and seams. Apply with a brush or gloved hand.
- Foil-backed tape: Unlike standard duct tape, HVAC foil tape is designed to withstand temperature changes and lasts much longer.
- Replace damaged sections: Severely deteriorated or crushed ducts may require replacement.
For best results, address all marked areas and recheck your work by running the system again and repeating the smoke or hand test.
Tips for Maintaining Leak-Free Ducts
Regular inspection and maintenance can prevent future issues. Here are a few tips:
- Check ducts annually, especially before peak heating or cooling seasons.
- Keep ducts clean to prevent buildup that can hide leaks. Learn about the long-term benefits of clean air ducts for your home.
- Ensure insulation is intact and not blocking vents or registers.
- Hire a professional for hard-to-reach or extensive duct systems.
Staying proactive helps maintain system efficiency and indoor air quality.
Professional Testing Methods for Duct Leakage
While DIY inspections are effective for accessible areas, professionals use advanced tools for a more thorough assessment. Common methods include:
- Blower door testing: Measures overall home air leakage by pressurizing the house and identifying leaks.
- Duct blaster testing: Specifically targets the duct system, quantifying the amount of air lost through leaks.
- Thermal imaging: Detects temperature differences that reveal hidden leaks behind walls or ceilings.
If you suspect significant leakage or have inaccessible ductwork, consider scheduling a professional evaluation.
Additional Resources for Duct Cleaning and Maintenance
Keeping your ductwork clean and sealed is essential for healthy indoor air. For more information on cleaning methods, see this comprehensive overview of the best ways to clean air ducts. If you have pets or unique needs, our article on the ideal frequency of duct cleaning for pet owners offers tailored advice.
Frequently Asked Questions
How often should I inspect my ductwork for leaks?
It’s recommended to check your ducts at least once a year, ideally before the heating or cooling season begins. If you notice higher energy bills or uneven temperatures, inspect sooner.
Can I seal duct leaks myself, or do I need a professional?
Many minor leaks can be sealed with mastic or foil-backed tape as a DIY project. However, for extensive or hard-to-reach duct systems, hiring a professional ensures a thorough job and may uncover hidden issues.
What are the signs that my ducts might be leaking?
Common indicators include rooms that are difficult to heat or cool, visible dust near vents, whistling noises from ductwork, or unexplained increases in energy costs.
Does cleaning my ducts help prevent leaks?
While cleaning doesn’t directly seal leaks, it can reveal hidden gaps and improve airflow. Regular cleaning also reduces dust and allergens in your home.
Are there long-term benefits to sealing duct leaks?
Yes, sealing leaks improves system efficiency, lowers energy bills, and enhances indoor air quality. Over time, it can also extend the life of your HVAC equipment.