Property owners and facility managers often wonder how long does duct camera inspection take when planning HVAC maintenance or troubleshooting air quality concerns. Understanding the typical timeframe for this process helps with scheduling, budgeting, and setting realistic expectations. Duct camera inspections are a vital part of modern air duct maintenance, offering a clear, real-time view inside ventilation systems to identify blockages, leaks, or contamination without invasive dismantling.
The duration of a duct camera inspection depends on several factors, including the size of the property, the complexity of the ductwork, accessibility, and the experience of the technician. In this article, we’ll break down the average time required, explain what influences the process, and provide practical tips for homeowners and businesses preparing for a duct camera assessment.

For those interested in the broader maintenance process, you can learn more about what happens during a professional duct cleaning to see how camera inspections fit into a complete service.
Typical Timeframe for Duct Camera Assessments
On average, a standard duct camera inspection for a residential property takes between 30 minutes and 2 hours. The actual time varies based on the following:
- Size of the HVAC system: Larger homes or commercial buildings with extensive ductwork require more time to inspect thoroughly.
- Number of vents and returns: More access points mean more areas to examine, increasing the duration.
- Accessibility: Ducts that are easy to reach and have clear access panels speed up the process, while hidden or obstructed ducts may slow it down.
- Condition of ductwork: If the ducts are heavily contaminated or have significant blockages, the technician may need to spend extra time navigating and documenting issues.
- Purpose of inspection: A routine check is generally quicker than a detailed investigation for persistent problems.
For most single-family homes, expect the inspection to last about an hour. Commercial properties, multi-unit buildings, or facilities with complex layouts may require several hours or even multiple visits.
Key Steps in the Duct Camera Inspection Process
To better understand the time involved, it helps to look at the main steps of a typical duct camera assessment:
- Preparation and setup: The technician reviews the building layout, identifies access points, and sets up the camera equipment. This stage usually takes 10–20 minutes.
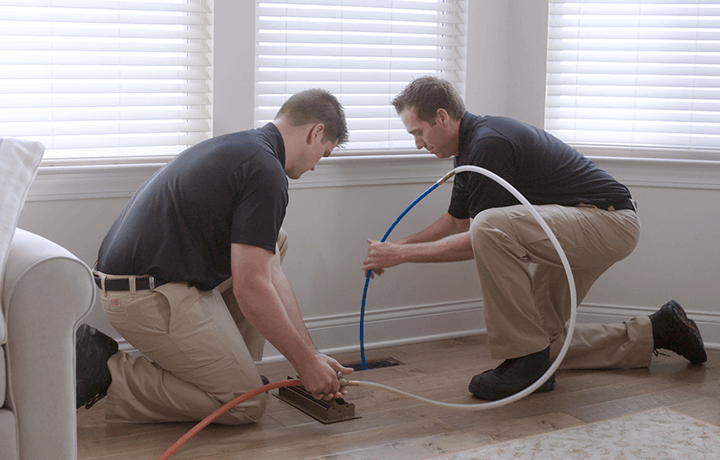
- Camera insertion and navigation: The camera is inserted into the ductwork and guided through each section. The technician monitors the live video feed, looking for blockages, leaks, or signs of contamination. This is the most time-consuming part and can take 30–90 minutes depending on system size and complexity.
- Documentation: Photos or video clips are captured as evidence of any issues found. Some companies provide a digital report with annotated images.
- Review and recommendations: The technician discusses findings with the property owner, explains any problems, and suggests next steps. This wrap-up typically takes 10–15 minutes.
If the inspection is part of a larger cleaning or repair service, the total appointment time will be longer. However, the camera assessment itself is usually completed within the timeframes above.
Factors That Influence How Long a Duct Camera Inspection Takes
Several variables can affect the length of a duct camera check:
- Building type: Homes with simple, straight duct runs are quicker to inspect than commercial buildings with multiple zones, branches, or rooftop units.
- Obstructions: Furniture, storage, or construction features that block access to vents or returns can slow down the process.
- Camera technology: Modern, flexible cameras with high-resolution video and remote controls allow for faster, more efficient inspections.
- Technician experience: Skilled professionals familiar with various duct layouts can complete the job more quickly and accurately.
- Inspection goals: A quick check for visible blockages is faster than a detailed survey for mold, pest infestation, or air quality testing.
For a deeper understanding of how dust and debris inside your ductwork can impact your environment, see our article on the impact of dusty ducts on indoor air quality.
How to Prepare for a Duct Camera Inspection
Proper preparation can help ensure your duct camera assessment goes smoothly and stays within the expected timeframe. Here are a few tips:
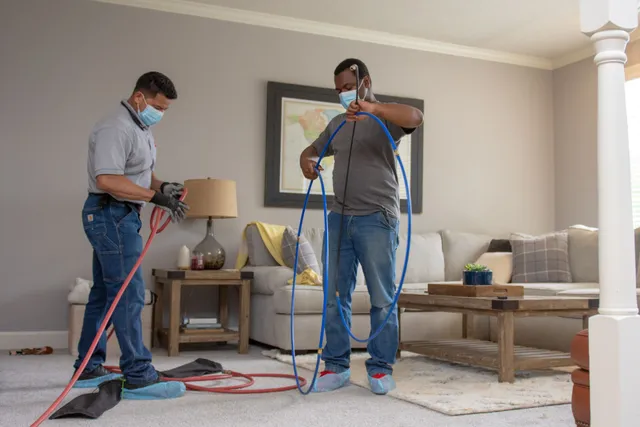
- Clear access: Move furniture, boxes, or other items away from vents, returns, and mechanical rooms.
- Provide building plans: If available, share HVAC layouts or blueprints with the technician.
- Communicate concerns: Let the inspector know about any specific issues, such as persistent odors, uneven airflow, or recent renovations.
- Secure pets: Keep pets in a separate area to avoid distractions and ensure safety.
Following these steps can help the technician work efficiently and minimize disruptions to your day.
When to Schedule a Duct Camera Assessment
Regular duct inspections are recommended for both residential and commercial properties, especially if you notice signs of poor air quality, visible dust buildup, or unexplained increases in energy bills. Experts suggest having your ducts checked every few years, or more often if you have allergies, pets, or recent construction work.
For guidance on how often should air ducts be cleaned, review our expert recommendations to keep your system running efficiently.
Benefits of Timely Duct Camera Inspections
Investing in regular duct camera checks offers several advantages:
- Early detection: Identify blockages, leaks, or mold growth before they cause major problems.
- Improved air quality: Spotting and addressing contaminants helps maintain a healthier indoor environment.
- Energy efficiency: Ensuring ducts are clear and sealed can reduce energy waste and lower utility bills.
- Peace of mind: Visual confirmation of duct condition provides assurance for property owners and tenants.
For a more technical overview of the process and the equipment used, check out this in-depth guide to HVAC duct camera inspection.
Frequently Asked Questions
Can a duct camera inspection be completed in less than an hour?
In some cases, especially for small apartments or homes with simple duct layouts, the process can be finished in under an hour. However, most thorough inspections take at least 45–60 minutes to ensure all areas are properly checked.
What should I expect during the inspection?
The technician will set up the camera, access various vents or returns, and guide the camera through the ductwork while monitoring a live video feed. They may take photos or videos of any issues and will review their findings with you at the end.
Is it necessary to leave the property during the inspection?
No, you can remain on-site during the process. The inspection is non-invasive and does not require any demolition or major disruption. It’s helpful to be available to answer questions or provide access as needed.
How often should I schedule a duct camera check?
Most experts recommend a camera inspection every 3–5 years, or sooner if you notice signs of duct problems, have completed renovations, or experience allergy symptoms. Regular checks help maintain system efficiency and indoor air quality.
Summary
The time required for a duct camera assessment varies, but most residential jobs are completed within 30 minutes to 2 hours. Factors such as system size, duct complexity, and technician experience all play a role. By preparing your property and understanding what to expect, you can ensure a smooth and efficient inspection. Regular camera checks are a smart investment in your property’s health, energy efficiency, and comfort.