Ensuring your HVAC system is clean and functioning properly is essential for indoor air quality and energy efficiency. A duct camera inspection checklist is a practical tool for technicians and homeowners who want to verify the condition of air ducts and spot issues before they escalate. By following a systematic approach, you can avoid missed problems, reduce guesswork, and document findings for future reference.
Whether you’re a professional or simply want to understand what to expect from a service visit, this guide outlines the steps and considerations for a thorough duct inspection using a camera. If you’re still deciding on a provider, you might find it helpful to review how to choose a duct camera inspection service for additional tips on selecting the right expert.
Why Use a Camera for Duct Inspections?
Traditional duct inspections often rely on visual checks at vent openings or educated guesses based on system performance. However, using a camera provides a direct view inside the ductwork, revealing blockages, debris, mold, or damage that might otherwise go unnoticed. This approach is more accurate and allows for documentation through photos or video, which can be shared with homeowners or property managers.
For a deeper look at the technology and its benefits, consider reading about the revolutionary role of air duct cameras in HVAC inspections.
Preparation Steps Before Inspection
Before starting any inspection, preparation is key to achieving reliable results. Here are the essential steps to take:
- Gather Equipment: Ensure the duct camera, lighting attachments, batteries, and recording devices are in working order.
- Review Building Plans: Familiarize yourself with the duct layout to identify all access points and potential problem areas.
- Notify Occupants: Let residents or building users know about the inspection to minimize disruptions.
- Check Safety Precautions: Wear appropriate PPE, and confirm that the HVAC system is off to prevent airflow during inspection.
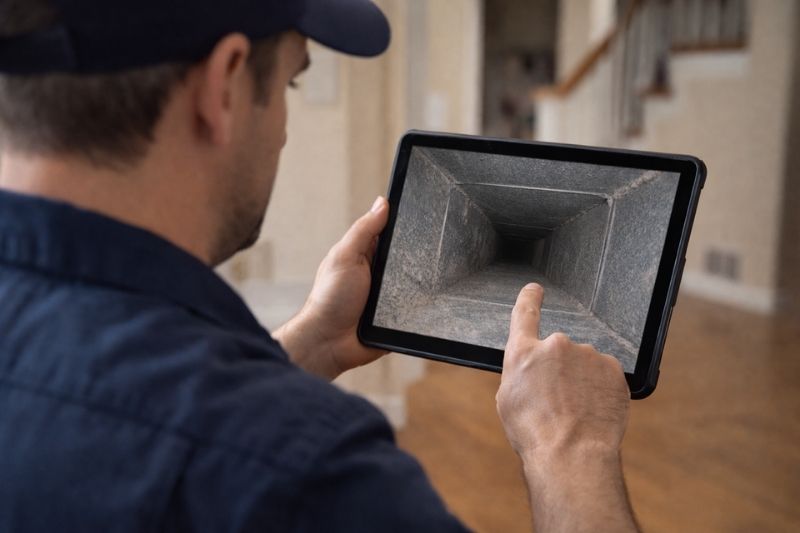
Step-by-Step Duct Camera Inspection Process
Following a structured process ensures that no section of the ductwork is overlooked. Here’s a breakdown of the main steps:
- Access the Ducts: Open grilles, registers, or service panels to insert the camera. Start at the main trunk lines and work toward branch ducts.
- Insert the Camera: Slowly advance the camera, watching the live feed for obstructions, buildup, or signs of damage.
- Document Findings: Capture images or video of any notable issues, such as heavy dust, mold, or disconnected sections.
- Check for Air Leaks: Look for gaps, holes, or loose connections that could reduce system efficiency.
- Inspect for Pests: Note any evidence of rodents or insects, such as droppings or nests.
- Evaluate Insulation: If ducts are insulated, check for moisture or deterioration.
- Repeat for All Zones: Ensure every accessible section is reviewed, including supply and return ducts.
Key Items to Include in Your Duct Camera Inspection Checklist
A well-designed checklist helps standardize the inspection process and ensures consistency across different properties or service calls. Here are important elements to include:
- Equipment Readiness: Confirm camera functionality, battery charge, and memory card space.
- Access Points: List all vents, registers, and service panels to be checked.
- Visual Inspection Criteria: Note what to look for—dust, debris, microbial growth, water stains, rust, or physical damage.
- Airflow Issues: Record any blockages or restrictions.
- Structural Integrity: Check for disconnected, crushed, or sagging ducts.
- Signs of Contamination: Identify sources of odors, pest infestation, or visible mold.
- Photo/Video Documentation: Ensure all findings are recorded for review and reporting.
- Recommendations: Space for notes on cleaning, repairs, or further investigation.
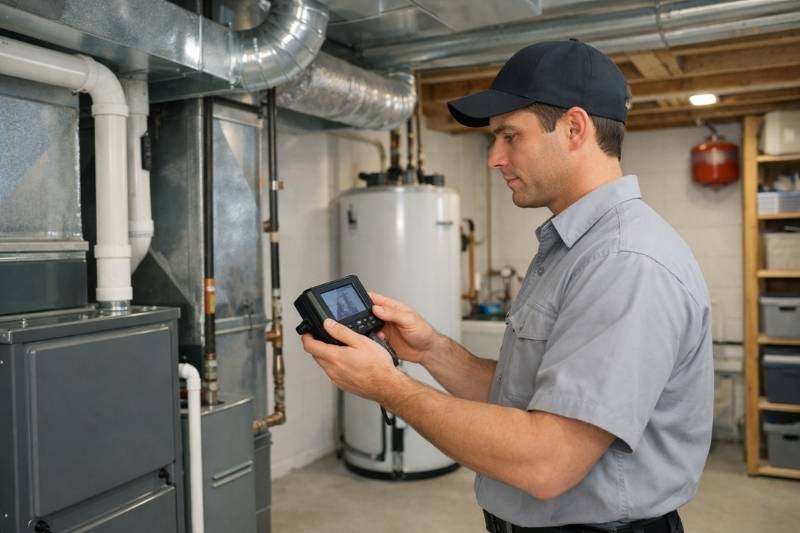
Common Issues Detected During Duct Camera Assessments
Using a camera often reveals problems that would otherwise remain hidden. Some of the most frequently discovered issues include:
- Heavy Dust and Debris: Accumulations that restrict airflow and reduce air quality.
- Mold Growth: Especially in humid climates or after water damage.
- Physical Damage: Crushed or disconnected ducts, often caused by renovations or settling.
- Pest Infestation: Evidence of rodents or insects, which can damage insulation and spread contaminants.
- Improper Repairs: Temporary fixes or poor-quality sealing that compromise system performance.
For more on misconceptions and realities, see duct camera inspection myths explained.
After the Inspection: Reporting and Next Steps
Once the inspection is complete, review all footage and notes. Prepare a clear report that includes:
- Summary of Findings: Highlight major issues and their locations.
- Supporting Images or Video: Attach visual evidence for transparency.
- Actionable Recommendations: Suggest cleaning, repairs, or further diagnostics as needed.
- Maintenance Tips: Offer advice on preventing future problems, such as regular filter changes or moisture control.
If you encounter technical difficulties during the process, the duct camera inspection troubleshooting guide can help resolve common issues with equipment or procedures.
Best Practices for Reliable Results
To maximize the value of each inspection, keep these best practices in mind:
- Follow a Consistent Checklist: Standardization reduces errors and ensures comprehensive coverage.
- Stay Up to Date: Use the latest camera technology and regularly update your checklist based on new industry standards.
- Communicate Clearly: Share findings with clients in an understandable format, using visuals when possible.
- Document Everything: Keep detailed records for future reference or warranty claims.
- Know When to Recommend Cleaning: Inspections often reveal when cleaning is necessary, but they do not replace the need for professional duct cleaning. For more on this distinction, see does duct camera inspection replace cleaning.
Frequently Asked Questions
What types of problems can a duct camera inspection reveal?
A camera-based inspection can uncover blockages, dust buildup, mold, pest infestations, disconnected ducts, and signs of water damage. It also helps identify areas where airflow is restricted or where repairs are needed.
How often should air ducts be inspected with a camera?
For most homes, a thorough inspection every three to five years is sufficient, unless there are specific concerns such as recent renovations, persistent odors, or allergy symptoms. Commercial properties or buildings with complex HVAC systems may require more frequent checks.
Is a duct camera inspection a replacement for duct cleaning?
No, an inspection is a diagnostic tool that helps determine the need for cleaning or repairs. While it provides valuable insights, it does not remove debris or contaminants from the ductwork.
Can homeowners perform their own duct inspections with a camera?
Some consumer-grade cameras are available, but professional-grade equipment and expertise are recommended for accurate results and safety. DIY inspections may miss hidden issues or cause accidental damage.
What should be included in a professional inspection report?
A comprehensive report should summarize findings, include annotated photos or video, and provide clear recommendations for cleaning, repairs, or further investigation.