Is your dryer vent hose loose or disconnected? This can be a significant problem for homeowners and business owners alike. A *detached* dryer vent hose can lead to poor *dryer performance*, increased energy costs, and even potential fire hazards. This guide will show you how to reattach a dryer vent hose effectively to ensure your dryer works efficiently and safely.
Why Is Reattaching Your Dryer Vent Hose Important?
Before diving into the process, its essential to understand why reattaching the dryer vent hose is crucial. A detached hose can hinder ventilation, leading to various problems such as:
- Reduced drying efficiency
- Higher energy bills
- Lint accumulation
- Fire risks
Gather the Necessary Tools and Materials
Before you begin, gather the following tools and materials:
- Screwdriver
- Aluminum foil tape
- Dryer vent hose clamp
- Replacement hose (if needed)
- Vacuum cleaner
Having these items on hand will make the process smoother and more efficient.
Step-by-Step Guide: How to Reattach a Dryer Vent Hose
1. Disconnect the Dryer
First, ensure your dryer is unplugged from the power source. If you have a gas dryer, turn off the gas supply valve. This step is crucial for your safety.
2. Move the Dryer
Carefully move the dryer away from the wall to access the vent hose. Make sure you have enough space to work comfortably.
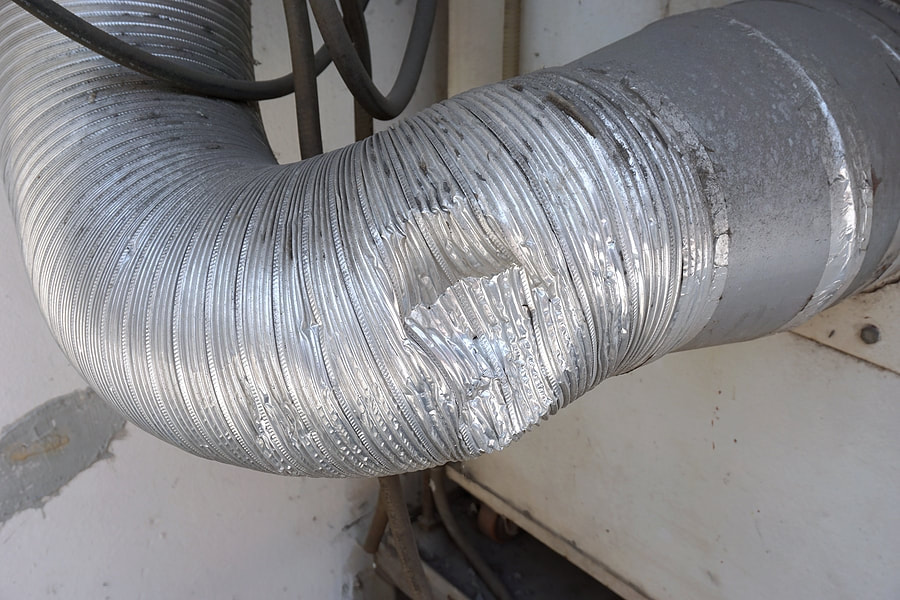
3. Inspect the Hose and Vent
Check the hose and vent for any damage, dirt, or obstructions. If the hose is damaged, you’ll need to replace it. Clean the vent and surrounding area using a vacuum cleaner to remove any lint or debris.
4. Attach the Hose to the Dryer
Slide the vent hose over the dryers exhaust outlet. Make sure it fits snugly. Secure the hose with a hose clamp, tightening it with a screwdriver until its firmly attached.
5. Secure the Hose to the Wall Vent
Next, attach the other end of the hose to the wall vent. Ensure a tight fit and secure it with a hose clamp. Use aluminum foil tape to seal any gaps and ensure there are no air leaks.
6. Reposition the Dryer
Carefully push the dryer back into place, ensuring the hose remains securely attached to both the dryer and the wall vent.
7. Plug In and Test
Plug in your dryer and, if applicable, turn on the gas supply. Run the dryer for a few minutes to test the connection. Check for any air leaks or unusual noises.
Troubleshooting Common Issues
Even with the best preparation, you might encounter some issues while reattaching the dryer vent hose. Here are some common problems and solutions:
Loose Connections
If the hose keeps coming off, ensure the clamps are tight and the hose is properly fitted. Consider replacing worn-out clamps.
Air Leaks
Use aluminum foil tape to seal any gaps. Avoid using duct tape as it may not withstand the high temperatures of the dryer.
Damaged Hose
If the hose is damaged, replace it with a new one. Ensure the new hose is compatible with your dryer model.
Maintenance Tips
To avoid future issues with your dryer vent hose, follow these maintenance tips:
- Regularly clean the lint trap before and after each load.
- Check the hose and vent for obstructions every few months.
- Inspect the hose for wear and tear and replace it if needed.
- Ensure the dryer is properly leveled to prevent hose damage.
FAQs
1. Can I use duct tape to secure the dryer vent hose?
Its not recommended to use duct tape as it may not withstand the high temperatures of the dryer. Use aluminum foil tape instead.
2. How often should I clean the dryer vent hose?
Its advisable to clean t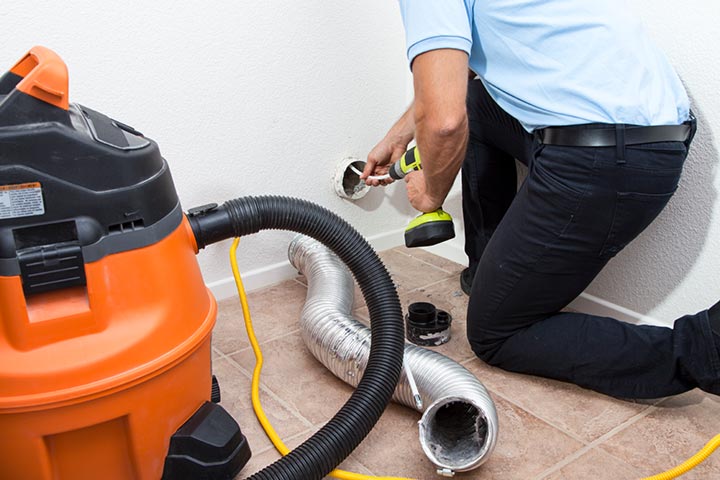 he dryer vent hose at least twice a year to prevent lint buildup and ensure efficient dryer performance.
3. What should I do if I smell gas near my dryer?
If you smell gas, turn off the gas supply immediately and contact a professional technician to inspect the dryer and the gas line.
Conclusion
Reattaching a dryer vent hose might seem like a daunting task, but with the right tools and instructions, it can be done efficiently and safely. Follow this step-by-step guide to ensure your dryer operates at *its best performance* and reduces potential hazards. For more detailed guidance on maintaining your home appliances, check out this guide. By taking proactive steps, you can enjoy a safe and efficient drying experience.