Maintaining a heat recovery ventilator is essential for ensuring healthy indoor air quality and maximizing the efficiency of your home’s ventilation system. Over time, dust, debris, and even mold can accumulate inside the HRV, reducing airflow and potentially circulating contaminants throughout your living space. Understanding how to clean a heat recovery ventilator helps you protect your investment, improve energy efficiency, and maintain a comfortable environment year-round.
Regular cleaning not only extends the lifespan of your HRV but also prevents common issues like stale odors, increased allergens, and reduced heat exchange performance. Whether you’re a homeowner looking to tackle this task yourself or want to understand what a professional service involves, this guide provides step-by-step instructions, safety tips, and practical advice for effective HRV maintenance.
Before diving into the cleaning process, it’s helpful to recognize related issues that can affect your ventilation system. For example, if you notice excess moisture or musty smells, you may want to review the signs of moisture in air ducts to determine if further action is needed. Addressing these problems early can prevent more serious complications within your HRV and ductwork.
Why Regular HRV Cleaning Matters
Many homeowners overlook their HRV until problems arise. However, routine care is crucial for several reasons:
- Improved Air Quality: A clean HRV removes dust, pollen, and other airborne particles, reducing allergy and asthma triggers.
- Energy Efficiency: Clean filters and cores allow your system to exchange heat more effectively, lowering energy bills.
- Longer Equipment Life: Removing debris prevents strain on fans and motors, reducing the risk of breakdowns.
- Odor Control: Regular cleaning eliminates sources of unpleasant smells caused by mold or bacteria buildup.
Neglecting maintenance can lead to clogged filters, reduced airflow, and even system failure. That’s why learning how to clean a heat recovery ventilator is a smart move for any homeowner.
Tools and Materials Needed for HRV Cleaning
Before starting, gather the following supplies to ensure a thorough and safe cleaning process:
- Vacuum cleaner with a soft brush attachment
- Soft cloths or microfiber towels
- Mild soap or non-abrasive cleaner
- Bucket of warm water
- Replacement filters (if needed)
- Phillips and flathead screwdrivers
- Protective gloves and safety glasses
Always consult your HRV’s user manual for specific cleaning recommendations and safety precautions.
Step-by-Step Guide to Cleaning Your HRV System
Follow these steps to ensure your HRV operates at peak performance:
1. Power Down and Access the Unit
Start by turning off the HRV and unplugging it from the power source. This prevents accidental activation during cleaning. Open the access panel, usually secured with screws or latches, to expose the internal components.
2. Remove and Clean or Replace Filters
Most HRVs have two filters: one for incoming fresh air and one for outgoing stale air. Slide out the filters and inspect them for dirt and debris. Wash reusable filters with mild soap and warm water, then let them air dry completely before reinstalling. If your filters are disposable or heavily soiled, replace them with new ones.
3. Clean the Core and Internal Components
The heat exchange core is the heart of your HRV. Carefully remove it according to the manufacturer’s instructions. Use a vacuum with a soft brush to remove dust and debris from the core’s surfaces. For stubborn dirt, rinse the core with lukewarm water (never hot) and allow it to dry thoroughly before reinserting. Wipe down the fan blades, housing, and any accessible ducts with a damp cloth.
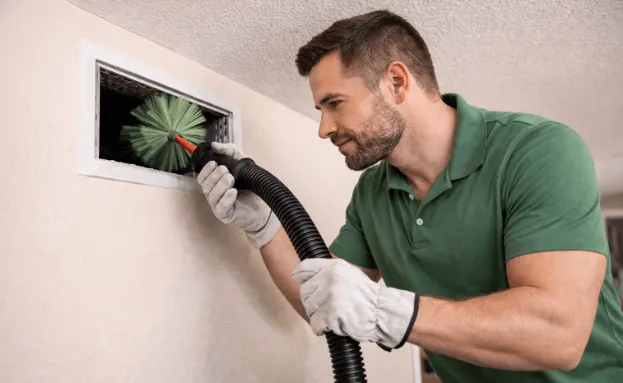
4. Inspect and Clean the Ductwork
While the HRV itself is the focus, don’t forget the connected ductwork. Dust and debris can accumulate here, reducing system efficiency. For a deeper clean, consider reviewing how to clean ventilation in a garage for practical tips that also apply to residential setups.

5. Reassemble and Test the System
Once all components are clean and dry, reassemble your HRV. Secure the access panel and restore power. Run the system and check for unusual noises, vibrations, or airflow issues. If everything operates smoothly, your cleaning was successful.
How Often Should You Clean Your HRV?
Most manufacturers recommend cleaning filters every three to six months and performing a full system clean at least once a year. However, homes with pets, smokers, or high dust levels may require more frequent attention. Regularly inspecting your HRV helps you spot issues early and maintain optimal performance.
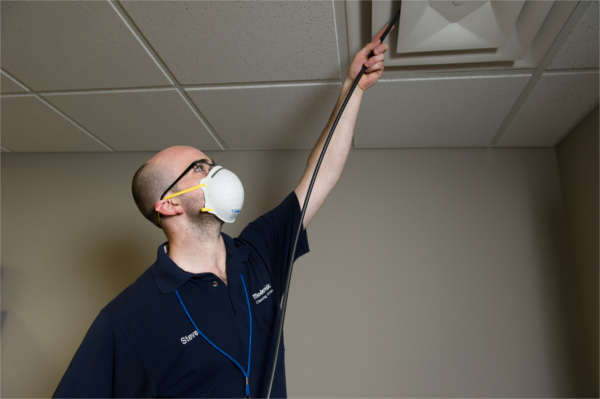
DIY vs. Professional HRV Cleaning
Many homeowners can handle basic HRV maintenance with the right tools and instructions. However, if your system is heavily contaminated or you notice persistent problems, professional cleaning may be necessary. For those considering tackling ductwork or more advanced cleaning, this guide to cleaning air ducts yourself provides helpful insights on what to expect and when to call in the experts.
Professional services use specialized equipment to remove stubborn debris, sanitize components, and ensure your HRV operates safely. If you’re unsure about any step, consulting a technician can save time and prevent costly mistakes.
Tips for Maintaining a Clean HRV System
- Mark your calendar for regular filter checks and cleanings.
- Keep outdoor intake and exhaust vents clear of leaves, snow, and debris.
- Monitor for ways to minimize dust during duct cleaning to reduce buildup inside your HRV.
- Address moisture issues promptly to prevent mold growth.
- Follow manufacturer guidelines for cleaning and replacement parts.
Staying proactive with maintenance helps you avoid unexpected repairs and ensures your home’s air stays fresh and healthy.
Frequently Asked Questions
How do I know if my HRV needs cleaning?
Common signs include reduced airflow, increased dust in your home, lingering odors, or visible dirt on filters and vents. If you notice these symptoms, it’s time to inspect and clean your system.
Can I clean my HRV filters instead of replacing them?
Many HRV filters are washable and reusable. Simply rinse them with mild soap and water, then allow them to dry completely before reinstalling. If the filters are damaged or excessively dirty, replacement is recommended.
Is it safe to clean the HRV core myself?
Yes, as long as you follow the manufacturer’s instructions and handle the core gently. Avoid using harsh chemicals or high-pressure water, as these can damage the core’s delicate surfaces. Always ensure the core is completely dry before reinstalling.
How can I prevent mold in my HRV?
Regular cleaning, prompt filter changes, and addressing moisture issues in your home are key. Make sure your HRV is properly balanced and that all vents are unobstructed to maintain healthy airflow.
What should I do if my HRV still smells after cleaning?
If odors persist, check for hidden mold or moisture problems in the ductwork or core. Persistent smells may indicate a need for professional cleaning or repairs.
By following these steps and tips, you can keep your HRV system running efficiently and enjoy cleaner, healthier air in your home. Regular attention to your ventilation system is a simple way to protect your indoor environment and your investment for years to come.