Understanding how duct camera inspection works is essential for homeowners and facility managers who want to maintain healthy indoor air quality and ensure the efficiency of their HVAC systems. This process uses specialized video equipment to visually assess the inside of air ducts, helping professionals identify blockages, leaks, mold, and other issues that can impact system performance. With the right approach, a duct camera inspection provides clear insights that traditional methods simply can’t match.
Before diving into the step-by-step process, it’s helpful to know that duct camera inspections are increasingly recommended as part of routine HVAC maintenance. They offer a non-invasive way to pinpoint problems and verify the effectiveness of cleaning or repairs. If you’re interested in related maintenance tips, you might also want to learn how to clean an HRV filter for optimal air exchange.
What Is a Duct Camera Inspection?
A duct camera inspection is a process where a technician uses a small, high-resolution camera attached to a flexible cable to visually examine the interior of HVAC ducts. This technology allows for a real-time look at the condition of ductwork, revealing dust buildup, debris, mold, pest infestations, and even structural damage. By understanding the step-by-step process of duct camera inspections, property owners can make informed decisions about cleaning, repairs, or upgrades.
Step-by-Step Guide: The Duct Camera Inspection Process
Let’s break down the typical workflow so you can see how duct camera inspection works in practice. Each step is designed to maximize accuracy while minimizing disruption to your home or business.
1. Initial Assessment and Preparation
Before any equipment is used, the technician will discuss concerns and review the HVAC system layout. They may ask about symptoms like uneven airflow, odors, or recent renovations. The next step is to locate accessible entry points to the ductwork, such as vents or service panels. Protective coverings are often placed around work areas to keep your space clean.
2. Inserting the Camera System
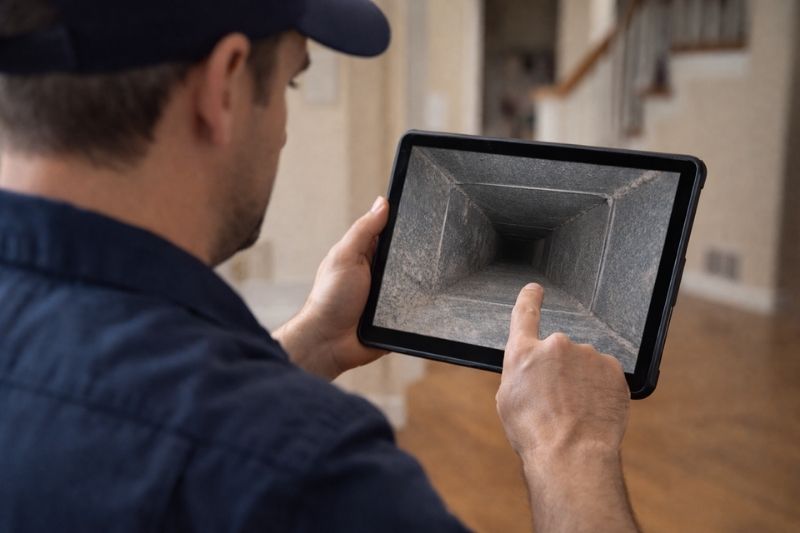
A specialized camera, often mounted on a flexible rod or cable, is carefully inserted into the duct. These cameras are designed to navigate tight bends and long stretches, transmitting live video to a monitor. The technician can control the camera’s movement, adjusting angles and zoom for a thorough inspection.
3. Real-Time Visual Inspection
As the camera travels through the ductwork, the technician watches the live feed for signs of trouble. They look for:
- Blockages such as dust, debris, or foreign objects
- Mold growth or moisture accumulation
- Leaks or disconnected sections
- Pest activity (droppings, nests, or insects)
- Corrosion or physical damage to the duct walls
The inspection may be paused to take still photos or record video clips for documentation. This evidence is valuable for insurance claims or when planning repairs.
4. Reviewing and Interpreting Findings
After the inspection, the technician reviews the footage with the property owner. They explain any issues found and answer questions about the condition of the ductwork. High-quality images or video segments are typically provided as part of the report. This transparency helps homeowners understand exactly what’s happening inside their HVAC system.
5. Recommendations and Next Steps
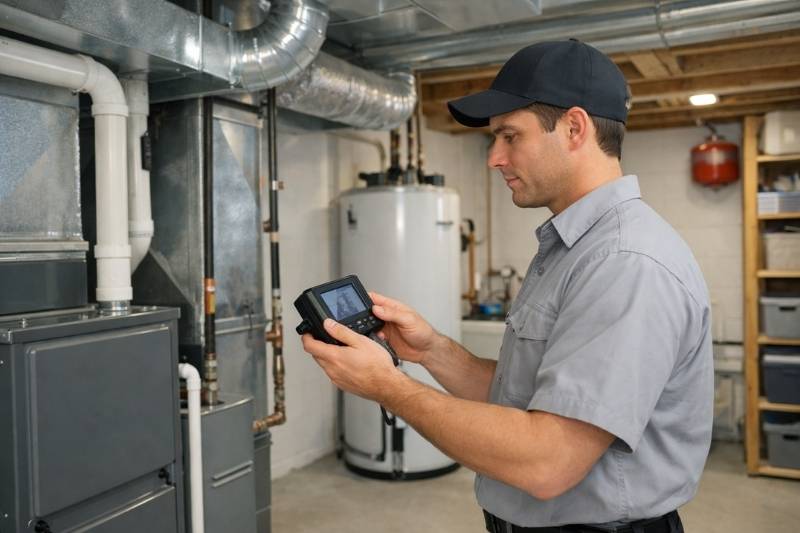
Based on the inspection results, the technician will recommend actions such as duct cleaning, sealing, repairs, or even replacement of damaged sections. If mold or pests are found, specialized remediation may be suggested. The visual evidence from the camera inspection ensures that recommendations are based on real conditions, not guesswork.
Why Use a Camera for Duct Inspections?
Traditional duct inspections relied on guesswork, limited visual access, or even partial disassembly. With modern camera technology, technicians can inspect the entire length of ductwork efficiently and with minimal disruption. The benefits include:
- Accurate diagnosis of hidden problems
- Reduced labor and faster inspections
- Visual proof for homeowners and property managers
- Better planning for cleaning or repairs
For a deeper dive into the technology and its impact on HVAC maintenance, see this comprehensive article on the revolutionary role of air duct cameras in HVAC inspections.
Common Issues Detected During Duct Camera Inspections
A thorough inspection can reveal a range of issues that may not be obvious from outside the ductwork. Some of the most common findings include:
- Excessive dust and debris buildup, which can restrict airflow and reduce efficiency
- Mold and mildew growth, often due to moisture or leaks
- Disconnected or damaged ducts causing air loss
- Evidence of rodents or insects, such as nests or droppings
- Improperly sealed joints or insulation issues
Addressing these problems promptly helps maintain indoor air quality and extends the life of your HVAC system. If you’re dealing with specific concerns like soot or dust, you might also find it helpful to read about how to remove charcoal dust from vents.
How to Prepare for a Duct Camera Inspection
To ensure a smooth and effective inspection, consider these preparation tips:
- Clear access to vents and service panels
- Inform the technician about any recent HVAC issues
- Secure pets and valuables in the inspection area
- Plan for a brief system shutdown during the process
Preparation helps the technician work efficiently and ensures that the inspection covers all relevant areas.
When Should You Schedule a Duct Camera Inspection?
Regular inspections are recommended every few years, especially if you notice:
- Unexplained increases in energy bills
- Persistent dust or allergy symptoms
- Unusual odors from vents
- Recent renovations or construction
- Suspected pest infestations
Proactive inspections can catch issues early, preventing costly repairs and improving overall air quality. For those with more complex systems, you may also want to explore how to clean a multi zone HVAC system for additional maintenance insights.
FAQ About Duct Camera Inspections
How long does a typical duct camera inspection take?
Most inspections are completed within one to two hours, depending on the size and complexity of the ductwork. Larger homes or commercial spaces may require additional time.
Will the inspection damage my ducts or HVAC system?
No. The camera and cable are designed to be flexible and non-invasive. Technicians use existing access points, so there is no need for cutting or dismantling duct sections.
What should I do if the inspection reveals mold or pests?
If mold or pests are found, the technician will recommend specialized cleaning or remediation. Prompt action is important to prevent health risks and further damage to your HVAC system.
Can I see the inspection footage myself?
Yes. Most professionals will review the footage with you and provide images or video clips as part of the final report. This transparency helps you make informed decisions about any recommended work.
Is a duct camera inspection necessary if I regularly clean my vents?
Even with regular vent cleaning, hidden issues can develop deeper in the ductwork. A camera inspection provides a comprehensive view, ensuring that no problems are missed.
By understanding how duct camera inspection works and what to expect, you can take proactive steps to maintain a healthy, efficient HVAC system. Whether you’re dealing with visible dust, unexplained odors, or just want peace of mind, a professional inspection offers valuable insights and helps you make informed decisions about your indoor environment.