Modern HVAC systems are designed for efficiency, comfort, and indoor air quality. However, even the best equipment can underperform if the ductwork is not properly installed or maintained. One of the most effective ways to ensure the integrity and cleanliness of ductwork during installation is through duct camera inspection during HVAC installation. This process uses specialized cameras to visually assess the inside of ducts, helping installers and homeowners identify issues that could affect system performance or air quality.
In this article, we’ll break down how duct camera inspections work, why they’re important, and what you can expect if you’re planning a new HVAC system. We’ll also share practical tips and resources for maintaining your system, including helpful guides like how to clean an HRV filter to keep your ventilation running smoothly.
What Is a Duct Camera Inspection?
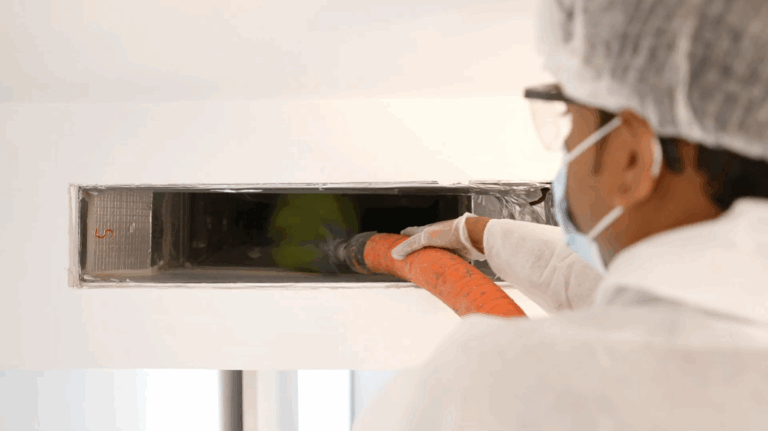
A duct camera inspection involves inserting a small, high-resolution camera into the ductwork. This camera is typically mounted on a flexible rod or cable, allowing technicians to navigate bends and turns inside the ducts. The live video feed is displayed on a monitor, giving a clear, real-time view of the duct’s interior surfaces.
During duct camera inspection during HVAC installation, the main goals are:
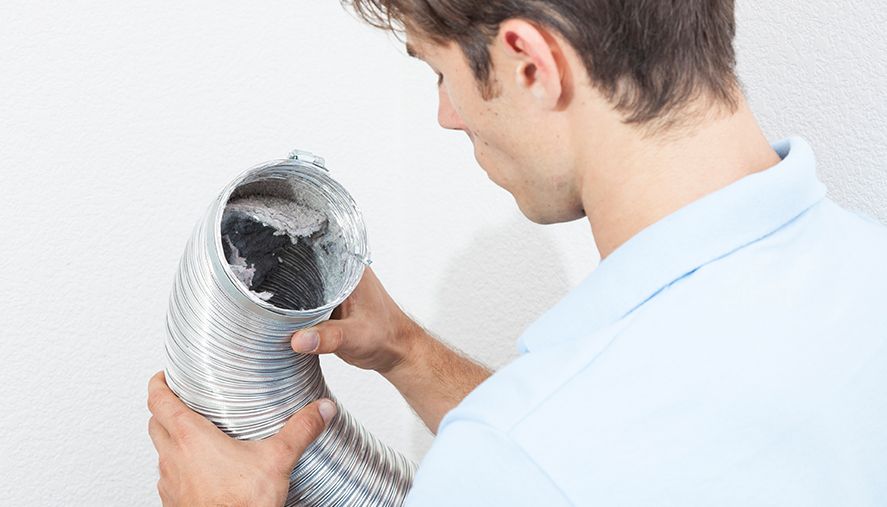
- Identifying construction debris, dust, or foreign objects left inside ducts
- Checking for proper sealing at joints and connections
- Ensuring there are no blockages or crushed sections
- Verifying that insulation is intact and not obstructing airflow
- Documenting the overall cleanliness and condition of the ductwork before system startup
Why Is Camera Inspection Important for New HVAC Systems?
When installing a new heating or cooling system, the ductwork is often out of sight and easy to overlook. However, even minor issues inside the ducts can lead to:
- Reduced airflow and uneven temperature distribution
- Increased energy consumption and higher utility bills
- Poor indoor air quality due to dust, debris, or mold
- Premature wear on HVAC equipment
By using a camera to inspect the ducts during installation, technicians can catch and correct problems before the system is put into operation. This proactive approach helps ensure that your investment in a new HVAC system delivers maximum comfort and efficiency from day one.
For more on the importance of inspecting air ducts, you can review this step-by-step guide to air duct inspection for additional technical details and best practices.
How the Duct Camera Inspection Process Works
The process of inspecting ducts with a camera during HVAC installation typically follows these steps:
- Preparation: After the ductwork is installed but before the system is sealed and operational, technicians prepare the camera equipment and access points.
- Insertion: The camera is carefully inserted into the duct, often starting at a main trunk or accessible vent.
- Navigation: Using the flexible rod or cable, the technician guides the camera through the ductwork, watching the live video feed for any issues.
- Documentation: Photos or video clips are captured of any concerns, such as debris, loose connections, or insulation problems.
- Correction: If issues are found, installers can address them immediately—removing obstructions, resealing joints, or making repairs as needed.
- Final Review: A second pass with the camera verifies that all corrections have been made and the ducts are ready for use.
This thorough approach helps ensure that the duct system is clean, sealed, and free of defects before the HVAC equipment is started for the first time.
Benefits of Duct Camera Inspections During Installation
There are several advantages to incorporating duct camera inspection during HVAC installation into your project:
- Peace of Mind: Homeowners and building managers can be confident that the ducts are clean and properly installed.
- Improved Efficiency: Clean, unobstructed ducts allow air to flow freely, reducing strain on the system and lowering energy costs.
- Better Air Quality: Removing construction debris and contaminants helps maintain healthy indoor air.
- Fewer Callbacks: Contractors can address problems before they become warranty issues or customer complaints.
- Documentation: Video or photo records provide proof of quality workmanship and can be useful for future maintenance.
Common Issues Detected by Camera Inspections
Even with careful installation, several issues can arise inside new ductwork. Camera inspections often reveal:
- Construction Debris: Sawdust, drywall dust, screws, and other materials left behind during building
- Improper Sealing: Gaps or leaks at duct joints that can waste energy and reduce system performance
- Crushed or Bent Ducts: Sections that have been damaged during installation, restricting airflow
- Obstructed Dampers: Internal dampers or airflow controls that are stuck or blocked
- Insulation Issues: Insulation that has come loose or is blocking part of the duct
By identifying these problems early, technicians can make adjustments before the system is operational, saving time and money in the long run.
Integrating Camera Inspections with Ongoing Maintenance
While camera inspections are especially valuable during initial installation, they can also be used for periodic maintenance. Over time, ducts can accumulate dust, mold, or even pests. Regular visual checks help ensure the system stays clean and efficient.
For those interested in keeping their HVAC system in top shape, learning how to clean a multi zone HVAC system or understanding how to remove charcoal dust from vents can be valuable for ongoing care. These resources provide step-by-step instructions for tackling common ductwork challenges.
Choosing a Qualified HVAC Contractor
Not all HVAC installers offer camera inspections as part of their standard process. When selecting a contractor, ask whether they use camera technology to verify ductwork quality. A reputable company will be transparent about their inspection methods and provide documentation of their findings.
It’s also wise to inquire about their experience with duct cleaning and maintenance. Some contractors offer bundled services that include initial inspection, cleaning, and future checkups, ensuring your system remains in optimal condition.
Frequently Asked Questions
How long does a duct camera inspection take during installation?
The inspection process usually takes between 30 minutes and two hours, depending on the size and complexity of the ductwork. Larger homes or buildings with multiple zones may require additional time.
Is duct camera inspection necessary for every HVAC installation?
While not always required, it is highly recommended for new installations, especially in new construction or major renovations. It ensures that the system starts clean and free of defects, which can prevent costly problems later.
Can camera inspections detect mold or pest infestations?
Yes, the high-resolution cameras used in these inspections can spot visible mold growth, nests, or signs of pests inside the ducts. If such issues are found, further cleaning or remediation may be recommended before the HVAC system is activated.