Maintaining clean and efficient HVAC systems is essential for indoor air quality and energy savings. One of the most effective ways to assess the condition of ductwork is through camera inspections. By following duct camera inspection best practices, professionals and property owners can identify blockages, leaks, and contamination with precision. This guide covers essential techniques, preparation steps, and troubleshooting tips to help you get the most out of your ductwork evaluations.
For those interested in real-world applications, you can explore duct camera inspection case studies for detailed examples of how these inspections are conducted and the benefits they provide.
Why Camera Inspections Matter for Ductwork
Using specialized cameras to inspect air ducts offers several advantages over traditional visual checks. These devices provide a clear, real-time view inside the duct system, allowing for accurate detection of dust buildup, mold, pests, and physical damage. By following duct camera inspection best practices, you can ensure that no hidden issues are missed and that the entire system is evaluated thoroughly.
Camera inspections also support documentation, making it easier to show clients or building owners the exact condition of their ductwork. This transparency builds trust and helps justify recommended cleaning or repairs.
Preparing for a Successful Duct Camera Assessment
Proper preparation is key to a smooth and effective inspection. Start by reviewing the building’s HVAC layout and identifying all access points. Remove any obstructions near vents or registers to allow easy entry for the camera equipment. If possible, inform occupants about the inspection to minimize disruptions.
Before starting, check the camera system for battery life, lens cleanliness, and proper functioning. Ensure you have all necessary accessories, such as extension rods, lighting attachments, and recording devices. A well-prepared technician can avoid delays and capture high-quality footage throughout the process.
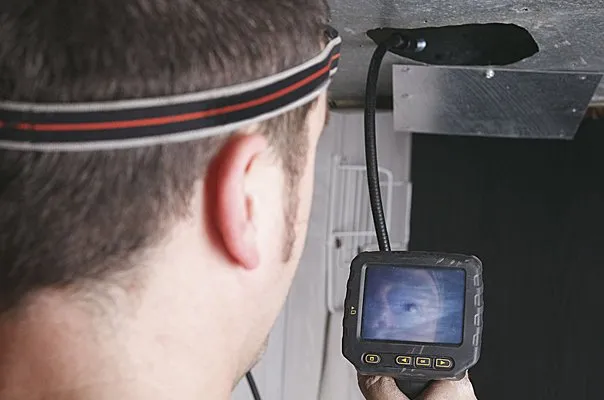
Key Techniques for Effective Duct Camera Use
To get the best results from your inspection, follow these essential techniques:
- Systematic Coverage: Move the camera slowly and methodically through each section of ductwork. Overlapping your coverage ensures no areas are missed.
- Lighting Control: Use built-in or external lights to illuminate dark sections. Adjust brightness as needed to avoid glare or shadows that could obscure details.
- Real-Time Monitoring: Watch the live feed as you navigate the camera. This allows you to spot and investigate suspicious areas immediately.
- Documentation: Record video or take snapshots of any issues you find, such as mold, debris, or damage. Clear documentation supports maintenance decisions and client communication.
- Minimize Disturbance: Avoid unnecessary contact with duct surfaces to prevent dislodging contaminants or damaging insulation.
For more in-depth troubleshooting advice, refer to comprehensive resources like the duct camera inspection troubleshooting guide.
Common Issues Detected During Duct Camera Evaluations
Following duct camera inspection best practices helps uncover a range of problems that may otherwise go unnoticed. Some of the most frequent findings include:
- Dust and Debris Accumulation: Excessive buildup can restrict airflow and reduce HVAC efficiency.
- Mold Growth: Moisture inside ducts can lead to mold, which poses health risks and should be addressed promptly.
- Physical Damage: Cracks, holes, or disconnected sections can cause air leaks and energy loss.
- Pest Infestations: Rodents or insects may nest in ductwork, leading to contamination and odors.
- Improper Repairs: Previous fixes that do not meet industry standards can compromise system performance.
Understanding these issues enables technicians to recommend targeted cleaning, repairs, or upgrades as needed.
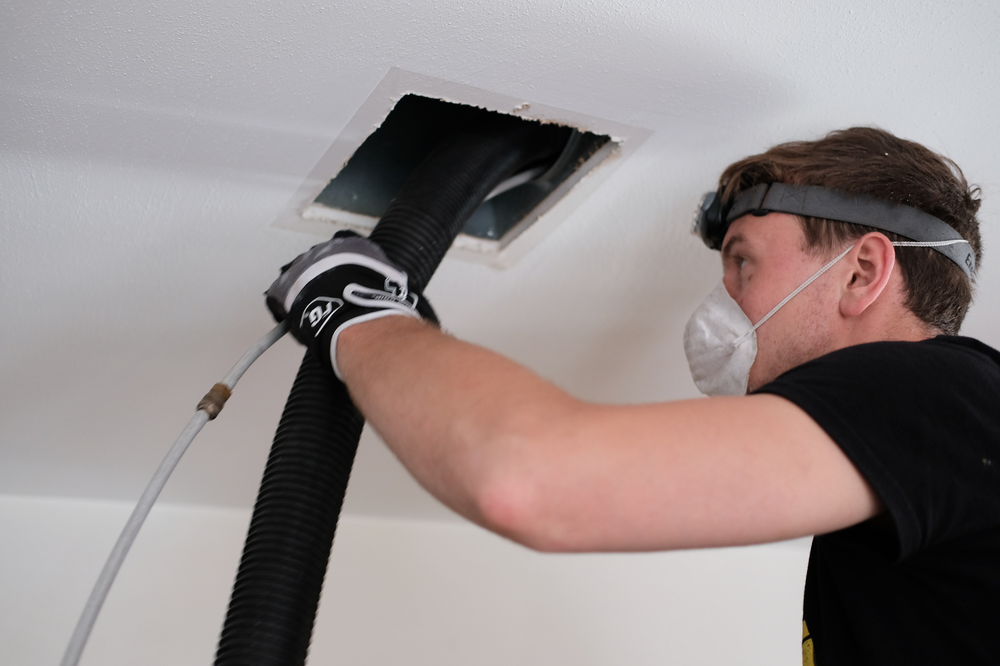
Best Practices for Accurate Reporting and Follow-Up
After completing the inspection, it’s important to compile a clear and detailed report. Include annotated images or video clips of any findings, along with descriptions and recommended next steps. Use straightforward language to explain the significance of each issue and the potential impact on indoor air quality or system efficiency.
Sharing these results with clients or building managers helps them make informed decisions about cleaning, repairs, or upgrades. For those considering professional services, reviewing advice on how to choose a duct camera inspection service can ensure you select a qualified provider.
It’s also helpful to schedule regular follow-up inspections, especially in commercial or high-traffic environments. This proactive approach supports long-term system health and reduces the risk of costly repairs.
Common Misconceptions About Duct Camera Inspections
There are several myths surrounding the use of cameras in ductwork evaluations. Some believe that camera inspections are only necessary for older buildings, or that they can replace cleaning entirely. In reality, these assessments are valuable for all types of properties and should be used alongside, not instead of, routine maintenance.
For a deeper look at these topics, see duct camera inspection myths explained to separate fact from fiction and maximize the value of your inspections.
Integrating Camera Inspections with Other Maintenance Practices
While camera assessments are powerful diagnostic tools, they work best as part of a comprehensive HVAC maintenance plan. Regular cleaning, filter changes, and system tune-ups should accompany visual inspections to keep air ducts in optimal condition.
Some property owners wonder if these inspections can replace cleaning. For clarification, the article does duct camera inspection replace cleaning explains why both steps are important for maintaining healthy indoor environments.
By integrating these strategies, you can extend the lifespan of your HVAC system, improve air quality, and reduce energy costs.
Further Reading and Resources
For those seeking more technical details about inspection equipment, everything you need to know about duct inspection cameras offers a comprehensive overview of camera types, features, and selection tips.
Staying informed about the latest technologies and industry standards ensures you’re always applying the most effective techniques in your maintenance routine.
Frequently Asked Questions
How often should duct camera inspections be performed?
The frequency depends on building usage and environmental factors. For most homes, an inspection every 2–3 years is sufficient. Commercial properties or facilities with high dust loads may require annual assessments.
Can camera inspections detect all types of duct problems?
These inspections are excellent for identifying visible issues like debris, mold, and physical damage. However, some problems, such as hidden leaks or airflow restrictions, may require additional diagnostic tools or pressure testing.
Is special training required to use duct inspection cameras?
While the equipment is user-friendly, proper training ensures accurate and safe operation. Technicians should understand how to navigate ductwork, interpret images, and document findings according to industry standards.