When it comes to maintaining your dryer, one of the tasks that homeowners frequently encounter is the necessity to cut a dryer vent hose. Typically, people reach for their trusty tin snips, but what if you don’t have them on hand? This can present a dilemma, but don’t worry there are alternative, effective methods to get the job done. In this guide, we will walk you through the steps on how to cut a dryer vent hose without tin snips.
So, you’ve reached this point because you’re looking for a way to handle this task without traditional tools. Fortunately, modern technology has brought forth some handy solutions that make this seemingly daunting task much simpler. Let’s dive in!
Why You Might Need to Cut a Dryer Vent Hose
Before we get into the details, it’s important to understand why you might need to cut a dryer vent hose. There are several reasons:
- Installation or Replacement: Whether you are installing a new dryer or replacing an old, damaged hose, you will often need to cut the vent hose to the appropriate length.
- Improved Efficiency: Cutting the vent hose to the right length can improve the efficiency of your dryer, potentially reducing dryer times and energy consumption.
- Safety: A hose that is too long can kink, leading to blockages that might become a fire hazard.
Essential Tools You Can Use Instead of Tin Snips
Not everyone has tin snips lying around, but there are several other tools that you might already have in your toolkit or garage that can handle the job just as well, if not better. Some of these include:
- Utility Knife: A sharp utility knife is a good option. Make sure to use a new blade to ensure a clean cut.
- Hacksaw: For those more comfortable with saws, a hacksaw can make clean, straight cuts through most dryer vent hoses.
- Scissors: Heavy-duty scissors can also do the trick, particularly for foil or flexible vinyl dryer vent hoses.
- Electric Rotary Tools: If you are into gadgets, an electric rotary tool with a cutting disc can accomplish the task with precision and speed.
Step-by-Step Guide to Cutting a Dryer Vent Hose
Preparation: Safety First
Before cutting your dryer vent hose, take some essential safety precautions:
- Disconnect the Dryer: Always disconnect the dryer from the power source to avoid any electrical hazards.
- Wear Protective Gear: Wear gloves and safety goggles to protect your hands and eyes from sharp edges and debris.
Step 1: Measure Twice, Cut Once
Start by measuring the length of the vent hose you need. Use a measuring tape to determine the exact length required from the dryer to the venting point. Mark the spot on the hose where you need to cut.
Step 2: Secure the Hose
Place the hose on a stable surface, such as a workbench. You can use clamps to hold the hose in place to ensure it doesn’t move while you cut it.
Step 3: Use Your Chosen Cutting Tool
Depending on the tool you have chosen, follow these specific instructions:
- Utility Knife: Score the hose lightly at the marked spot, then apply additional pressure to cut through.
- Hacksaw: Slowly saw through the hose, maintaining a steady pressure.
- Heavy-duty Scissors: Carefully cut along the marked line, ensuring a straight cut.
- Rotary Tool: Use the tool’s cutting disc to follow the marked line with precision.
Step 4: Smooth the Edges
Once cut, inspect the edges of the hose. If they are rough or jagged, use sandpaper or a file to smooth them out. This step is crucial to ensure a proper fit and to prevent any cuts during installation.
Installing the Cut Dryer Vent Hose
Step 5: Attach the Hose to the Dryer
Slide the cut end of the hose over the dryers exhaust vent. Secure it using a clamp or foil tape, making sure it is tight and leak-free.
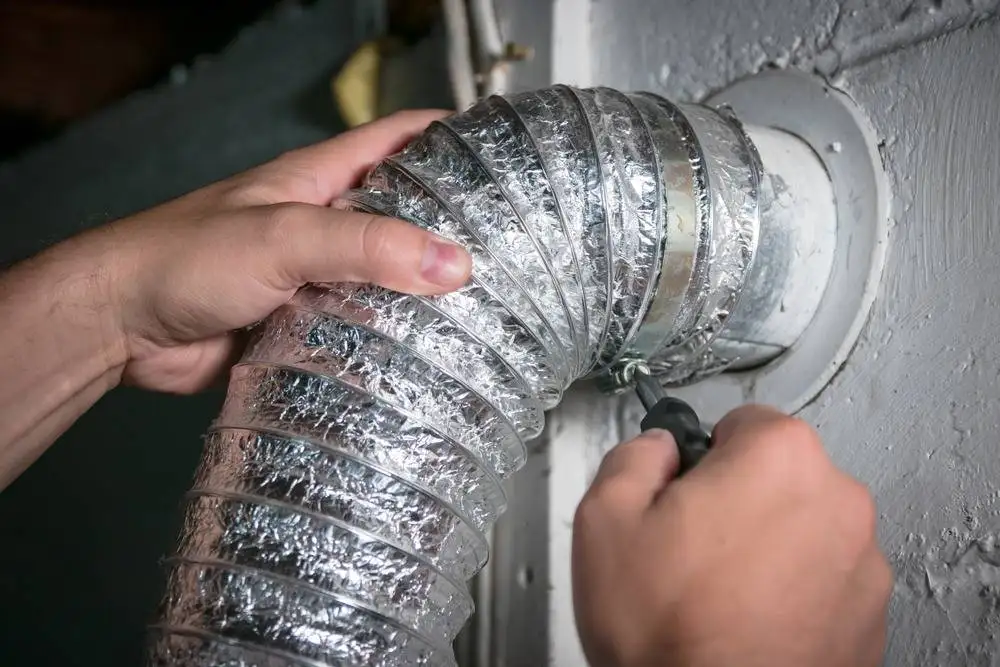
Step 6: Connect the Hose to the Wall Vent
Next, attach the other end of the hose to the wall vent. Again, secure it with a clamp or foil tape.
Step 7: Test Your Work
After making the connections, turn on the dryer and observe if the hose stays secure and no air leaks are present. Make any necessary adjustments.
Common Mistakes to Avoid
Here are some pitfalls to watch out for:
- Avoid cutting the hose too short. Measure carefully.
- Ensure all connections are airtight to prevent energy loss and fire hazards.
- Dont skip the step of smoothing out cut edges.
Advanced Tips for Better Results
For those who want to go the extra mile:
- Consider using a vent hose made of sturdier material if your current hose is too flimsy.
- Regularly inspect and clean your vent hose to ensure it remains clear of debris and lint.
- You can add insulation around the hose to improve energy efficiency.
For more detai led information on how to clean your dryer vent and other maintenance tips, check out this helpful external guide on dryer vent cleaning.
FAQs
What materials can I cut a dryer vent hose made of?
You can usually cut dryer vent hoses made of flexible aluminum, foil-covered plastic, or even heavy-duty vinyl with the tools mentioned earlier.
Can I use regular scissors to cut a dryer vent hose?
Regular household scissors may not be strong enough to cut through certain types of dryer vent hoses. Heavy-duty scissors are recommended.
Why is it important to have an airtight connection?
An airtight connection prevents warm, moist air from leaking out, which could lead to mold growth in your home and reduced dryer efficiency.
For additional insights on maintaining HVAC systems and enhancing indoor air quality, visit these useful resources: Commercial Duct Cleaning, Residential Duct Cleaning, and Mold in HVAC System.