For both homeowners and business owners, maintaining a comfortable and healthy indoor environment is crucial. One essential aspect of this is ensuring that your ductwork is in good condition. Understanding how to check duct condition is vital for maintaining energy efficiency and indoor air quality. In this guide, we’ll explore the steps to inspect your ducts and ensure they are functioning optimally.

Why Duct Condition Matters
The condition of your ductwork directly affects the efficiency of your HVAC system. Leaky or dirty ducts can lead to increased energy bills and poor air quality. Regular inspection helps in identifying issues early, preventing costly repairs and health risks.
Signs of Poor Duct Condition
Before diving into the inspection process, its important to recognize signs that may indicate problems with your ducts. These include unusual noises, inconsistent room temperatures, and increased dust in the home. If you notice these, it’s time to take a closer look.
Tools Needed for Duct Inspection
To perform a thorough inspection, youll need a flashlight, screwdriver, and camera (or smartphone) to document any issues. Having a basic understanding of your HVAC systems layout will also be beneficial.
Step-by-Step Guide to Checking Duct Condition
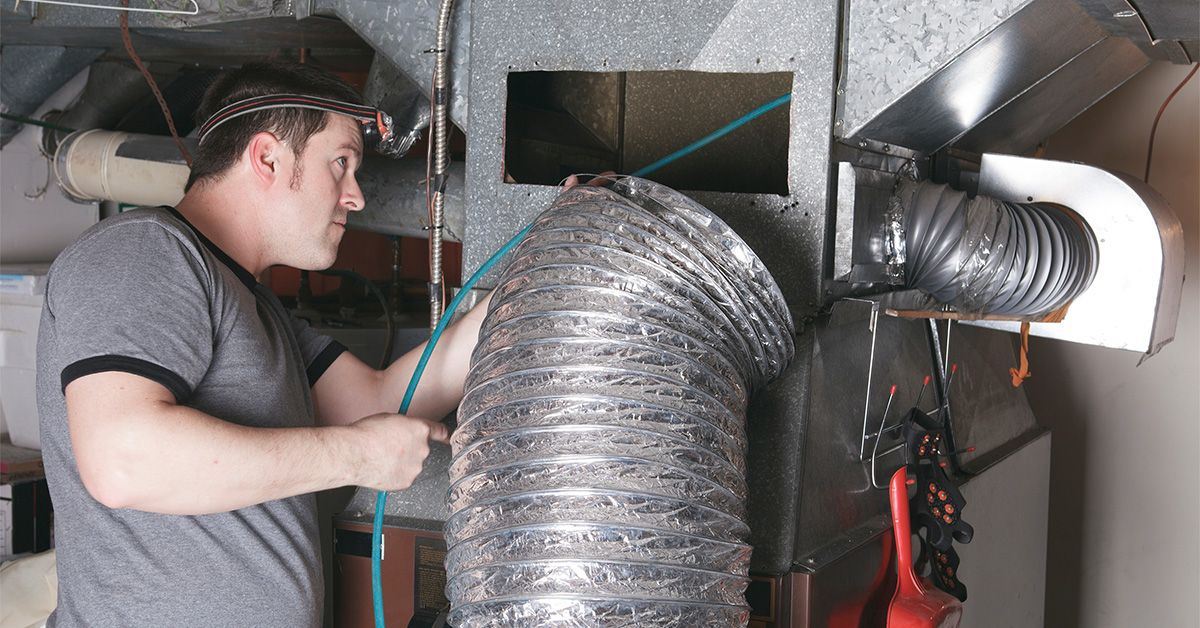
1. Visual Inspection
Start with a visual inspection of your ductwork. Look for any obvious signs of damage, such as holes or disconnected joints. Check both the main ducts and smaller branches leading to each room.
2. Check for Air Leaks
Air leaks are common in ductwork and can significantly impact efficiency. You can use a smoke pencil or incense stick to detect leaks. Hold it near connections while the system is on, and watch for any smoke that gets disturbed.
3. Inspect for Blockages
Blockages can occur due to debris or pests. Use a flashlight to look inside the ducts for any obstructions that might impede airflow.
4. Evaluate Insulation
Proper insulation is key to preventing energy loss. Check that all ducts are adequately insulated, especially those in unconditioned spaces like attics.
5. Assess Duct Supports
Ensure that ducts are properly supported and secured. Loose or sagging ducts can impede airflow and cause damage over time.
When to Call a Professional
While DIY inspection is helpful, some issues require professional attention. If you find significant damage or are unsure about your findings, its best to consult a professional duct cleaning service. For more detailed insights, check out what to expect from a duct cleaning service.
Benefits of Regular Duct Maintenance
Regular maintenance of your ducts not only ensures efficient HVAC performance but also improves indoor air quality. Clean ducts reduce allergens and pollutants, providing a healthier environment. Learn more about the benefits of duct cleaning.
FAQs About Duct Condition
1. How often should I inspect my ducts?
It’s recommended to inspect your ducts annually. However, if you notice any issues, its wise to check them sooner.
2. Can I clean my ducts myself?
While minor cleaning can be done, its best to hire professionals for a thorough cleaning to ensure all areas are addressed.
3. What are the signs of duct damage?
Signs include unusual noises, uneven heating or cooling, and increased dust in your home. If you experience these, inspect your ducts for damage.
Conclusion
Understanding how to check duct condition is an essential skill for maintaining a healthy and efficient home environment. Regular inspections can help prevent costly repairs and improve your home’s air quality. For more information on maintaining your ducts, visit air quality testing and duct cleaning.
This article contains affiliate links. We may earn a commission at no extra cost to you.