Regular inspection of air ducts is essential for maintaining indoor air quality and ensuring HVAC systems run efficiently. Modern inspection tools, such as duct cameras, allow technicians and property owners to see inside ductwork and identify blockages, leaks, or contamination. However, like any advanced equipment, these cameras can sometimes present challenges. This article offers a practical approach to duct camera inspection troubleshooting, helping you resolve common issues and maximize the effectiveness of your inspection process.
For those interested in the accuracy and reliability of these tools, you may want to review duct camera inspection accuracy for a deeper understanding of their capabilities.
Understanding Common Duct Camera Issues
Before diving into solutions, it’s important to recognize the most frequent problems encountered during a duct camera inspection. These can range from image quality concerns to connectivity failures. By identifying the symptoms early, you can save time and avoid unnecessary disruptions.
- Poor image quality or blurry footage
- Camera not powering on
- Signal loss or intermittent video feed
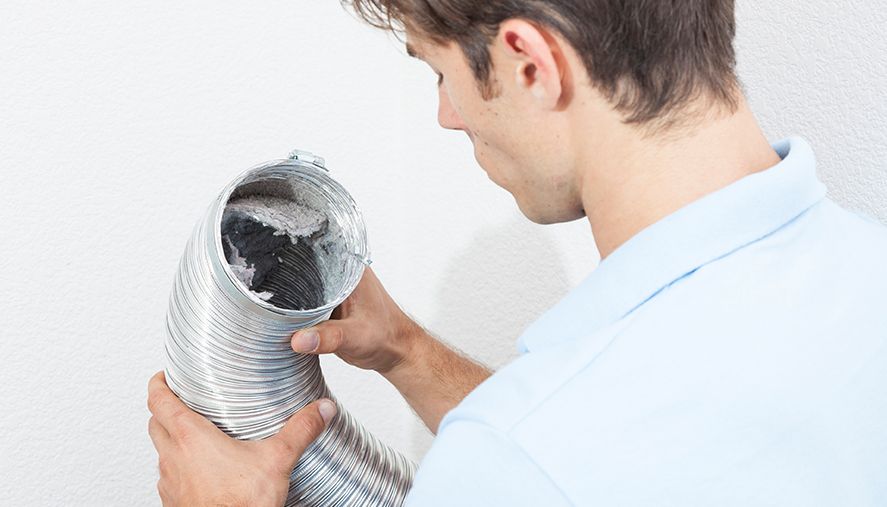
- Camera head stuck inside ductwork
- Lighting issues such as dark or overexposed images
- Recording or playback errors
Diagnosing Image and Video Problems
One of the most common complaints during a duct camera inspection troubleshooting process is unclear or unusable video. This can be caused by several factors, including dirty lenses, poor lighting, or faulty camera components.
Steps to Improve Image Quality
- Clean the camera lens: Dust, debris, or condensation on the lens can significantly reduce image clarity. Use a soft, lint-free cloth to gently wipe the lens before and after each inspection.
- Check lighting: Ensure the built-in LED lights are functioning. If the image is too dark or washed out, adjust the brightness settings or replace faulty bulbs.
- Inspect camera cable: Damaged or kinked cables can cause flickering or loss of video. Carefully unwind and inspect the cable for visible damage.
- Test display monitor: Sometimes the issue lies with the monitor rather than the camera. Connect the camera to another display to rule out monitor faults.
For more on the limitations and capabilities of these devices, see the article on duct camera inspection limitations.
Power and Connectivity Troubleshooting
If your duct camera fails to power on or loses connection during use, the problem could be related to the power supply, battery, or cable connections. Addressing these issues quickly can prevent inspection delays.
Resolving Power Issues
- Check the power source: Confirm that the camera is properly plugged in or that batteries are fully charged. Replace batteries if necessary.
- Inspect power cables: Look for frayed wires or loose connections. Replace damaged cables to restore consistent power.
- Test with backup equipment: If possible, use a spare power adapter or battery pack to determine if the original is faulty.
Fixing Connectivity and Signal Problems
- Secure all connections: Ensure all plugs and sockets are firmly connected. Loose connections can cause intermittent signal loss.
- Reduce interference: Keep the camera cable away from other electronic devices or power lines that might cause electromagnetic interference.
- Test different cable lengths: Using excessively long cables can degrade signal quality. Try a shorter cable if possible.
Mechanical and Navigation Challenges
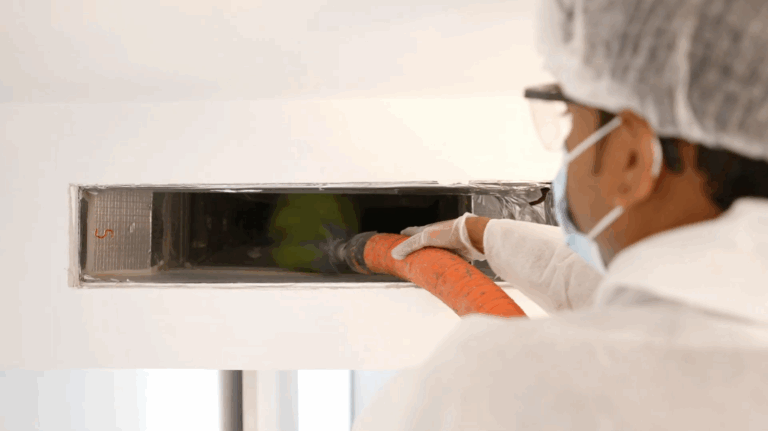
Navigating ductwork can be tricky, especially in older or complex HVAC systems. Sometimes, the camera head may get stuck or have difficulty maneuvering through tight bends or obstacles.
Preventing and Resolving Camera Jams
- Plan the route: Before inserting the camera, review duct schematics if available. Identify sharp turns or potential blockages.
- Use appropriate camera size: Select a camera head that matches the duct diameter. Oversized cameras are more likely to get stuck.
- Retract slowly: If the camera becomes lodged, gently retract while rotating the cable. Avoid pulling forcefully, as this can damage both the camera and ductwork.
- Lubricate if necessary: For particularly tight sections, a small amount of approved lubricant can help the camera slide through.
If you’re deciding between inspection and cleaning, the duct camera inspection vs duct cleaning decision guide can help clarify when each service is appropriate.
Lighting and Visibility Optimization
Proper lighting is crucial for capturing clear images inside ducts. Many cameras come with adjustable LEDs, but these can sometimes malfunction or be insufficient for certain environments.
- Adjust LED intensity: Most modern cameras allow you to change the brightness. Increase or decrease as needed based on duct material and reflectivity.
- Replace faulty bulbs: If some LEDs are out, replace them before the next inspection to avoid dark spots in your footage.
- Supplement with external lights: In large or particularly dark ducts, consider using additional lighting tools designed for HVAC inspections.
Recording and Data Management Solutions
Many duct cameras offer recording features for documentation and later review. If you encounter issues with saving or retrieving footage, the following steps can help:
- Check storage capacity: Ensure the SD card or internal memory isn’t full. Transfer old files to a computer and format the card if needed.
- Verify file formats: Some cameras use proprietary formats that require specific software for playback. Install the recommended viewer or convert files as necessary.
- Update firmware: Outdated software can cause glitches. Visit the manufacturer’s website for the latest updates.
When to Seek Professional Help
While many issues can be resolved with basic troubleshooting, some problems—such as persistent signal loss, severe mechanical jams, or repeated power failures—may require professional repair or replacement. If your equipment is under warranty, contact the manufacturer or authorized service center for assistance.
For a comprehensive overview of the inspection process, this step-by-step guide to inspecting air ducts provides additional context and best practices.
Best Practices for Reliable Inspections
To minimize downtime and ensure accurate results, adopt these best practices:
- Perform regular maintenance and cleaning of your duct camera equipment.
- Keep spare batteries, bulbs, and cables on hand.
- Document any recurring issues and their solutions for future reference.
- Train all users on proper handling and troubleshooting procedures.
- Stay informed about the latest inspection technologies and updates.
Specialized environments, such as clean rooms, may require additional considerations. Learn more in the article on duct camera inspection for clean rooms.
Frequently Asked Questions
What should I do if my duct camera shows a blank screen?
First, verify that the camera is receiving power and that all cables are securely connected. Test the camera on another monitor to rule out display issues. If the problem persists, inspect the camera lens and lighting, and check for any signs of hardware failure.
How can I prevent my camera from getting stuck inside the duct?
Use a camera head that fits the duct size, plan your inspection route, and proceed slowly around bends or obstacles. If you encounter resistance, gently retract and rotate the cable rather than forcing it forward.
Why is my recorded footage not playing back correctly?
This could be due to a full or corrupted SD card, incompatible file formats, or outdated playback software. Try transferring the files to a computer, updating your software, or reformatting the storage device.