Understanding the duct camera inspection reporting process is essential for property owners, facility managers, and HVAC professionals who want to ensure indoor air quality and system efficiency. This method uses advanced camera technology to visually assess the interior of air ducts, allowing for precise identification of blockages, contamination, or structural issues. The resulting reports provide actionable insights that support maintenance decisions and regulatory compliance.
In this article, we’ll break down each stage of the inspection and reporting workflow, explain the value of detailed documentation, and highlight what you can expect from a professional service. If you’re new to this topic or want a deeper understanding of how these inspections work, you’ll find practical guidance and expert tips throughout.
For those looking to dive even deeper into the technical aspects, the HVAC duct camera inspection guide offers a comprehensive overview of diagnostic techniques and best practices.
Why Visual Documentation Matters in Air Duct Assessments
Traditional duct inspections often relied on guesswork or limited visual access. With the advent of camera-based methods, technicians can now provide clear, high-resolution images and videos of the ductwork’s interior. This transparency is crucial for several reasons:
- Accurate Problem Identification: Camera footage reveals dust buildup, mold, pest infestations, and physical damage that might otherwise go unnoticed.
- Objective Evidence: Visual records support recommendations for cleaning, repairs, or upgrades, building trust between service providers and clients.
- Regulatory Compliance: Many commercial and healthcare facilities require documented proof of duct conditions for health and safety audits.
By leveraging these visual tools, the reporting process becomes more reliable and actionable, leading to better outcomes for all stakeholders.
Step-by-Step Breakdown of the Duct Camera Inspection Workflow
The duct camera inspection reporting process typically follows a structured sequence to ensure thoroughness and consistency. Here’s how a standard assessment unfolds:
1. Initial Consultation and Preparation
The process begins with a discussion between the client and the inspection team. Key objectives, areas of concern, and access points are identified. Technicians may review building blueprints or previous maintenance records to plan the inspection route efficiently.
2. Equipment Setup and Safety Measures
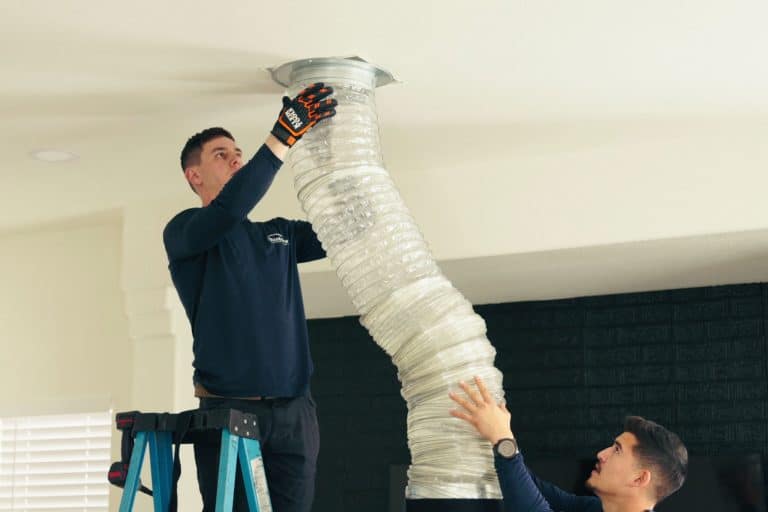
Specialized cameras—often mounted on flexible rods or robotic crawlers—are prepared for deployment. Safety protocols are followed to protect both the property and the inspection crew. This may include isolating HVAC zones, wearing personal protective equipment, and ensuring electrical safety.
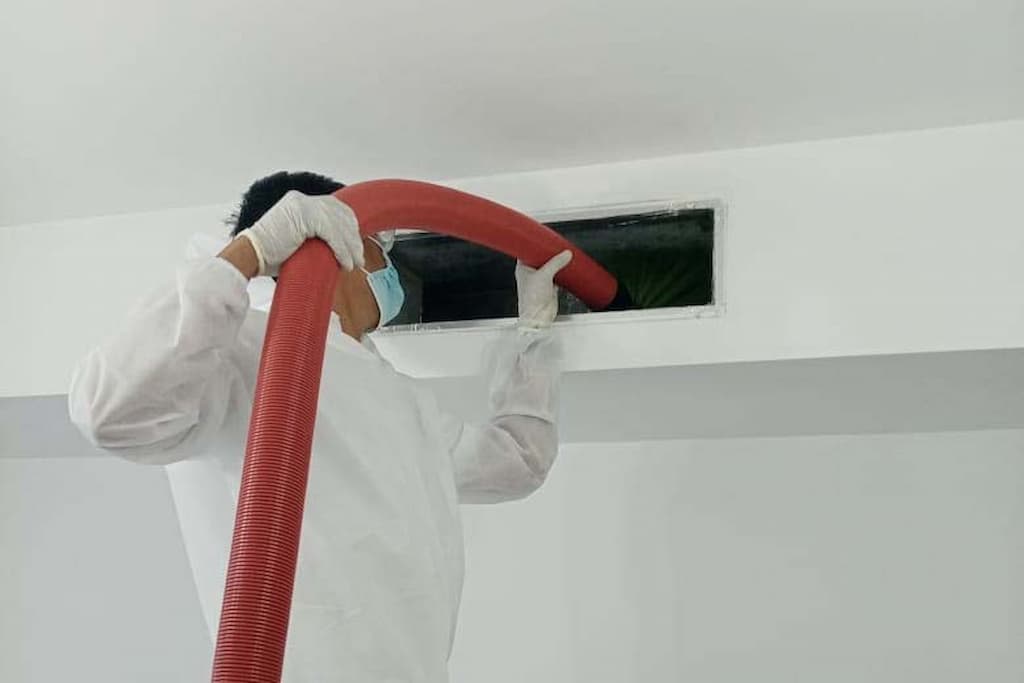
3. Real-Time Duct Exploration
The camera is inserted into the duct system, transmitting live video to a monitor. Technicians guide the device through bends, junctions, and branches, carefully documenting any issues encountered. Still images and video clips are captured for later analysis.
4. Data Collection and Analysis
After the exploration, the recorded media is reviewed in detail. Technicians note the location, severity, and type of any problems such as leaks, corrosion, microbial growth, or debris accumulation. This information forms the basis of the inspection report.
5. Comprehensive Reporting and Recommendations
The final report compiles all findings, including annotated images, video links, and written observations. Recommendations are prioritized based on urgency and impact. Clients receive a digital or printed copy, which can be used for maintenance planning, insurance claims, or compliance documentation.
Key Elements of a Professional Duct Inspection Report
A well-structured report is more than a checklist—it’s a tool for informed decision-making. Here are the core components you should expect:
- Executive Summary: A concise overview of the inspection’s purpose, scope, and main findings.
- Visual Evidence: High-quality images and video stills, each labeled with location and context.
- Detailed Observations: Descriptions of any identified issues, with notes on severity and potential causes.
- Actionable Recommendations: Clear guidance on cleaning, repairs, or further investigation, ranked by priority.
- Maintenance History: Reference to previous inspections or repairs for context.
- Compliance Notes: Documentation relevant to health, safety, or industry regulations.
This level of detail ensures that property managers and owners can address problems proactively, reducing long-term costs and risks.
How Camera Inspections Improve HVAC System Performance
By integrating camera technology into routine maintenance, HVAC professionals can pinpoint inefficiencies and hazards that impact air quality and energy use. Clean, unobstructed ducts allow for better airflow, reducing strain on equipment and lowering utility bills. Early detection of issues like leaks or microbial growth prevents costly repairs and supports a healthier indoor environment.
For a broader look at the benefits and methodology behind these inspections, the article duct camera inspection explained provides additional context and practical examples.
Integrating Reporting Into Your Maintenance Plan
Regularly scheduled inspections, paired with thorough reporting, form the backbone of an effective HVAC maintenance strategy. Facility managers can use these reports to track trends over time, justify budget requests, and demonstrate due diligence during audits. Homeowners benefit from peace of mind, knowing that their systems are operating safely and efficiently.
If you’re considering adding this service to your maintenance routine, it’s worth exploring how air duct camera inspections can enhance your service offerings and improve customer satisfaction.
Frequently Asked Questions
How often should air ducts be inspected with a camera?
Most experts recommend a camera-based inspection every 2–3 years for residential properties, or more frequently for commercial buildings, healthcare facilities, or spaces with high occupancy. Factors such as recent renovations, allergy concerns, or visible dust may warrant more frequent checks.
What types of problems can a duct camera reveal?
Camera inspections can uncover a range of issues, including dust buildup, mold, pest infestations, leaks, corrosion, and physical obstructions. The technology allows for precise location tracking, making it easier to target cleaning or repairs.
Is the process disruptive to building occupants?
The inspection itself is minimally invasive. Technicians may need access to vents or mechanical rooms, but there’s typically no need for major disassembly or downtime. Most inspections can be completed within a few hours, depending on the size and complexity of the ductwork.
Conclusion
The modern duct camera inspection reporting process offers unparalleled visibility into the condition of your HVAC system. By combining advanced imaging technology with detailed documentation, property owners and managers can make informed decisions that protect both their investment and the health of occupants. For further reading on related topics, consider exploring the benefits of HVAC maintenance and health benefits or best practices for air filters and dust reduction.