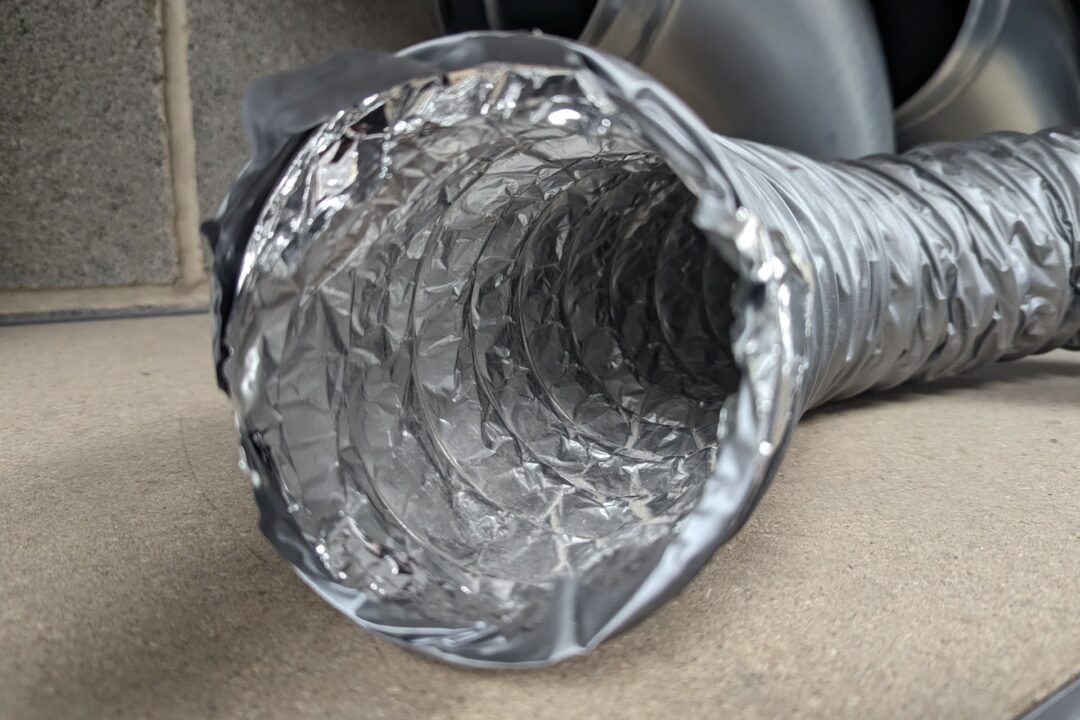
Venting a dryer in the middle of the house can be a challenging task, but it is not impossible. Whether you are a homeowner or a business owner, ensuring that your dryer is properly vented is crucial for both safety and efficiency. In this article, we will delve into the necessary steps and considerations for how to vent a dryer in the middle of the house.

Why Proper Dryer Venting is Important
Proper dryer venting is essential for a variety of reasons. A well-vented dryer not only operates more efficiently, but it also reduces the risk of fires. Lint build-up in a poorly vented dryer can quickly become a fire hazard. Additionally, proper venting helps to eliminate moisture, which can lead to mold and mildew growth in your home.
Challenges of Venting a Dryer in the Middle of the House
Venting a dryer in the middle of the house presents several unique challenges compared to venting a dryer against an exterior wall. These challenges include longer vent runs, navigating around obstacles within the house, and ensuring that the venting complies with local building codes.
Longer Vent Runs and Potential Complications
When the dryer is located in the middle of the house, the vent run to the exterior of the building is longer. This distance can pose several complications, including reduced airflow, increased lint build-up, and greater potential for blockages.
Materials Needed for Dryer Venting
Before you begin the process, gather all the necessary materials. This includes:
- Dryer vent duct
- Vent elbows and connectors
- Vent hood or wall cap
- Foil tape (UL-listed)
- Screws and screwdriver
- Drill and appropriate drill bits
- Measuring tape
Step-by-Step Guide for Venting a Dryer in the Middle of the House
Step 1: Plan Your Vent Route
Planning is crucial when venting a dryer in the middle of the house. Map out the most direct and efficient route for the vent. Take into consideration any obstacles such as walls, plumbing, or electrical wiring.
Step 2: Measure and Cut the Vent Duct
Measure the distance from your dryer to the exterior vent location. Add a few extra feet to account for bends and adjustments. Cut the vent duct to the appropriate length.
Step 3: Install Vent Elbows and Connectors
Install the vent elbows and connectors where necessary. Use foil tape to secure the connections. Avoid using screws, as they can cause lint to accumulate and create blockages.
Step 4: Drill the Exit Hole
Choose a suitable location for the vent to exit the building. Using a drill, create a hole that matches the diameter of your vent duct. This exit point should be free from any obstructions.
Step 5: Attach the Vent Hood
Attach the vent hood or wall cap to the exterior wall. This will protect your vent from the elements and prevent pests from entering.
Step 6: Connect the Vent Duct to the Dryer
Connect the vent duct to the back of your dryer using a secure clamp. Ensure that the connection is airtight to prevent any leaks.
Step 7: Secure the Vent Duct Along the Route
Secure the vent duct along the planned route using brackets or straps. Make sure the duct is taut and has minimal bends to optimize airflow.
Step 8: Test the System
Turn on your dryer and check the airflow at the exterior vent. Ensure that there are no leaks or blockages in the system.
Maintenance Tips
Regular maintenance is essential to keep your dryer vent system functioning optimally. Clean the vent duct and hood regularly to remove any lint build-up. Consider scheduling professional inspections to identify and rectify potential issues.
Cleaning the Vent Duct
To clean the vent duct, disconnect it from the dryer and use a vent brush to remove any accumulated lint. This should be done every few months to prevent blockages.
Inspecting for Damage
Regularly inspect the vent duct for any signs of damage, such as cracks or holes. Replace any damaged sections immediately to maintain the integrity of the system.
Common Mistakes to Avoid
Th ere are several common mistakes that people make when venting a dryer in the middle of the house:
- Using plastic or vinyl ducts instead of metal ones
- Overlooking the importance of regular maintenance
- Ignoring local building codes and regulations
FAQ
1. Can I use a plastic vent duct?
No, it’s recommended to use metal vent ducts as they are more durable and less prone to fire hazards.
2. How often should I clean the dryer vent?
You should clean the dryer vent at least every six months to prevent lint build-up and ensure optimal performance.
3. Can I vent the dryer into my attic?
No, venting a dryer into an attic can lead to moisture issues and potential mold growth. Always vent to the exterior of the house.
For more information on maintaining your dryer vent, visit Maytag guide.
Additionally, you can check out this residential duct cleaning guide for more tips on keeping your home safe and efficient.
Venting your dryer correctly is crucial for safety and efficiency. Whether you are a homeowner or business owner, following these steps will ensure that your dryer operates at optimal performance.