Welcome to our comprehensive guide on how to install a dryer vent. Installing a dryer vent correctly is crucial for ensuring the safety and efficiency of your appliance. This article will walk you through the entire process, providing you with step-by-step instructions, essential tips, and important safety considerations. Whether you’re a seasoned DIY enthusiast or a first-time homeowner, this guide is designed to help you achieve a successful dryer vent installation.

Why Installing a Dryer Vent is Important
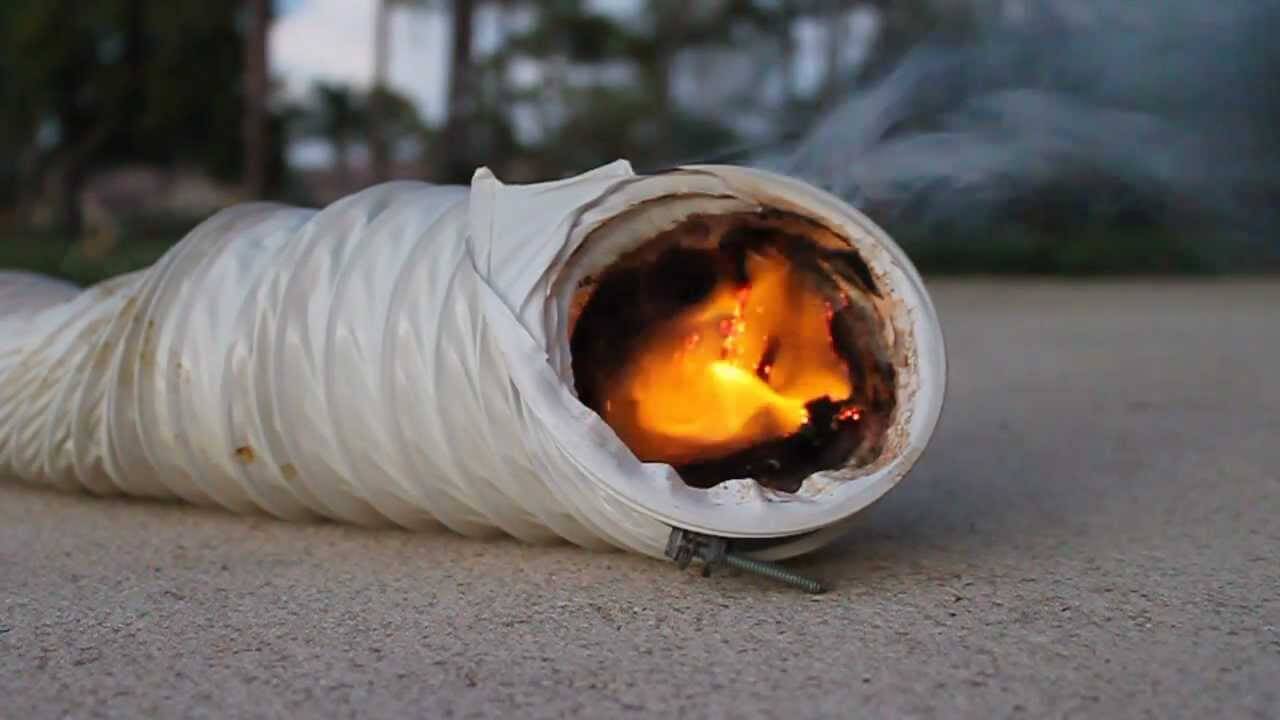
Proper dryer vent installation is vital for several reasons. Firstly, it helps prevent the buildup of lint, which can pose a significant fire hazard. Secondly, a properly installed dryer vent allows your dryer to operate more efficiently, reducing energy consumption and drying times. Additionally, it helps maintain good indoor air quality by venting moisture and other particles outside your home.
Tools and Materials You’ll Need
Tools
- Drill
- Hole saw or vent hole cutter
- Screwdriver
- Tin snips
- Caulking gun
- Measuring tape
Materials
- Dryer vent kit
- Vent hose
- Vent cap
- Foil tape
- Caulk
- Clamps
- Screws
Step-by-Step Guide to Installing a Dryer Vent
Step 1: Choose the Best Location
Selecting the right location for your dryer vent is the first crucial step. The vent should be positioned on an exterior wall close to your dryer. This minimizes the length of the vent hose and ensures efficient airflow.
Step 2: Mark the Vent Location
Use a measuring tape to mark the location on the exterior wall where you want to install the dryer vent. Ensure that the mark aligns with the dryer outlet inside your home.
Step 3: Drill the Vent Hole
Using a drill and a hole saw or vent hole cutter, drill a hole through the exterior wall at the marked location. Make sure the hole is large enough to accommodate the vent pipe.
Step 4: Install the Vent Cap
Attach the vent cap to the exterior wall. Secure it in place using screws and ensure a tight fit to prevent any air leaks. Apply caulk around the edges of the vent cap to provide a weatherproof seal.
Step 5: Connect the Vent Hose
Connect one end of the vent hose to the dryer outlet and the other end to the vent cap on the exterior wall. Use clamps to secure the connections and ensure there are no gaps or leaks. Consider using foil tape for added security.
Step 6: Secure the Vent Hose
Ensure that the vent hose is properly secured and doesn’t sag or kink. This will help maintain efficient airflow and prevent lint buildup.
Safety Tips for Installing a Dryer Vent
- Always follow the manufacturer’s instructions provided with your dryer and vent kit.
- Avoid using plastic or vinyl vent hoses as they can be a fire hazard. Opt for metal vent hoses instead.
- Regularly clean and maintain your dryer vent to prevent lint buildup and ensure safe operation.
Troubleshooting Common Installation Issues
Issue 1: Inadequate Airflow
If you notice that your dryer is taking longer to dry clothes or if the vent hose feels excessively hot, it could indicate restricted airflow. Check for any obstructions or lint buildup in the vent hose and clean it thoroughly.
Issue 2: Leaking Vent Hose
If you find any leaks in the vent hose connections, use foil tape to secure the joints. Make sure the hose is properly aligned and installed without any kinks or bends.
Maintenance Tips for a Safe and Efficient Dryer Vent
- Regularly inspect and clean the vent hose to remove any lint buildup.
- Check the vent cap on the exterior wall for blockages or damage.
- Consider scheduling professional maintenance to ensure optimal performance and safety.
FAQs
How often should I clean my dryer vent?
It is recommended to clean your dryer vent at least once a year. However, if you notice any signs of restricted airflow or longer drying times, it’s a good idea to clean it more frequently.
Can I use the existing vent hole for a new dryer?
In most cases, you can use the existing vent hole as long as it meets the requirements for your new dryer. Ensure the vent cap and hose are in good condition and consider replacing them if necessary.
 What should I do if my dryer vent is too long?
If your dryer vent is too long, it can lead to reduced airflow and increased risk of lint buildup. Consider relocating the dryer or using a vent booster fan to improve airflow efficiency.
Conclusion
Properly installing a dryer vent is essential for the safety and efficiency of your appliance. By following the step-by-step instructions outlined in this guide, you can ensure a successful installation that minimizes fire hazards and optimizes drying performance. Remember to regularly clean and maintain your dryer vent for continued safety and efficiency. If you need professional assistance or have any specific questions, don’t hesitate to reach out to our experts. For more information on maintaining a safe and efficient home environment, check out our additional resources on Commercial Duct Cleaning, Residential Duct Cleaning, and Treat Mold in HVAC. Additionally, for more detailed information on dryer vent maintenance, you can refer to this helpful guide on How to Clean Dryer Vent.