Maintaining the efficiency of your dryer is essential for both homeowners and business owners. One crucial step in doing so is understanding how to clean lint out of dryer vent. Not only does this prolong the life of your appliance, but it also ensures safety by reducing fire hazards. In this comprehensive guide, we will walk you through the process and importance of cleaning your dryer vent to keep your space safe and your machine operating at its best.

Why Cleaning Your Dryer Vent is Essential
The Safety Concerns
Lint buildup in your dryer vent isn’t just a matter of reduced efficiency. The United States Fire Administration reports that 2,900 home dryer fires are reported each year, with failure to clean the dryer being the leading cause. Regularly cleaning your dryer vent mitigates this risk significantly.
Boosting Efficiency
A clean dryer vent allows your appliance to operate more smoothly and efficiently. When the vent is clogged with lint, the dryer has to work harder, leading to higher energy bills and the potential for wear and tear. By maintaining your dryer vent, you can keep energy costs down and extend the lifespan of your machine.
Signs That Your Dryer Vent Needs Cleaning
Longer Drying Times
If your clothes are taking longer to dry than usual, it might be due to a clogged vent. This is a clear indicator that air can’t circulate properly, causing the dryer to work harder and longer.
Burning Smell
A burning smell while running your dryer is a serious warning sign of lint buildup. Stop using the dryer immediately and clean the vent thoroughly to prevent a potential fire.
Steps to Clean Your Dryer Vent
Gather Your Supplies
Before you begin, youll need to gather a few supplies:
- Vacuum with a hose attachment
- Dryer vent brush kit
- Screwdriver
- Cleaning cloth
Disconnect the Dryer
Unplug your dryer from the electrical outlet. If you have a gas dryer, turn off the gas valve to prevent any leaks. Safely move the dryer away from the wall to access the vent easily.
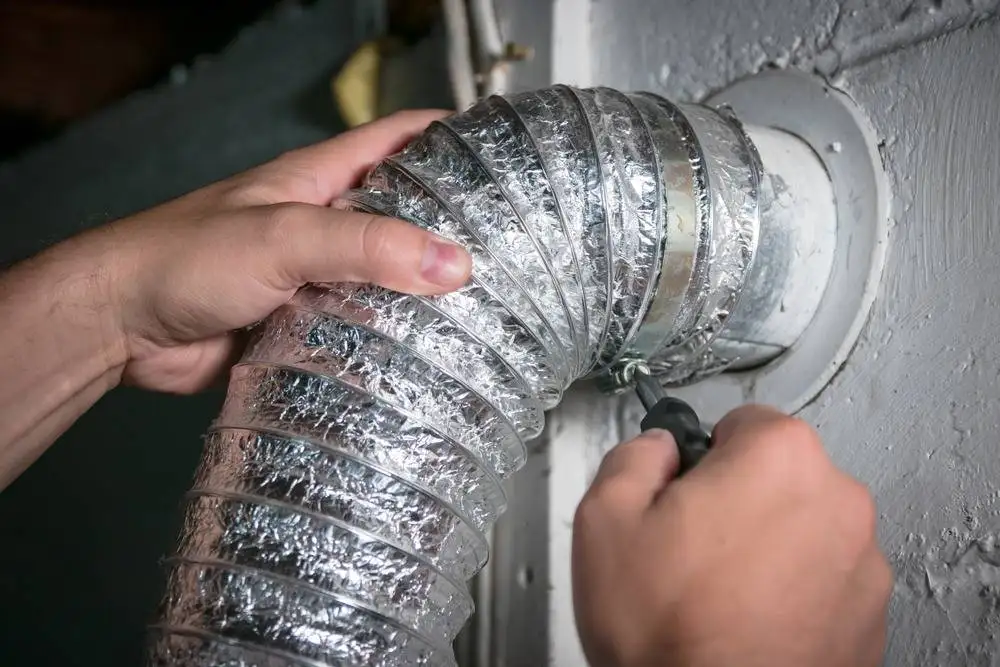
Remove the Vent Hose
Using your screwdriver, detach the vent hose from the back of the dryer. After detaching, gently remove any accumulated lint from the dryer and the vent hose itself.
Clean the Vent with a Brush Kit
Use a dryer vent brush to thoroughly clean inside the vent. Feed the brush into the vent, twisting and pushing it in and out to remove any lint buildup. This process may need to be repeated several times to ensure all the lint is cleared.
Vacuum the Vent and Surrounding Area
Use the hose attachment of your vacuum to clean up any remaining lint or debris from the vent and the surrounding area. Make sure to vacuum both the dryers vent and the hose to remove all excess lint.
Reassemble and Test
After cleaning, reattach the vent hose to the dryer and slide it back into position. Plug the dryer back in, turn the gas valve back on if applicable, and test the dryer to ensure proper functionality.
Maintaining a Clean Dryer Vent
Schedule Regular Cleanings
Make it a habit to clean your dryer vent every six months. Consistent maintenance can greatly reduce the risk of fires and improve your dryers performance.
Professional Inspection
Consider having your dryer vent professionally inspected annually. Experts can provide a thorough cleaning and identify any potential issues that might not be evident to the untrained eye.
Additional Resources
To learn more about maintaining your homes air quality and HVAC system, check out these articles:
FAQs
How often should I clean my dryer vent?
Its advisable to clean your dryer vent every six months. However, you may need to clean it more frequently if you notice signs of lint buildup or reduced efficiency.
Can I clean the dryer vent myself?
Yes, you can clean your dryer vent yourself by following the steps outlined in this article. However, for thorough cleaning and inspection, consider hiring a professional at least once a year.
What are the dangers of not cleaning the dryer vent?
Failing to clean the dryer vent can lead to severe consequences, including fire hazards due to lint buildup, reduced efficiency of your dryer, higher energy costs, and potential damage to the appliance.
For more detailed instructions, you can also visit this external guide.